
How I made my Moss Specimens
Posted: 05-12-2025


Background inspiration for the mossmojis
When I designed these kaomoji-style 'mossmojis' I always imagined them taking physical form. I love mascot design and ugly-cute little guys, and during my visits to Japan and Korea last year I saw some truely phenomenal specimens.
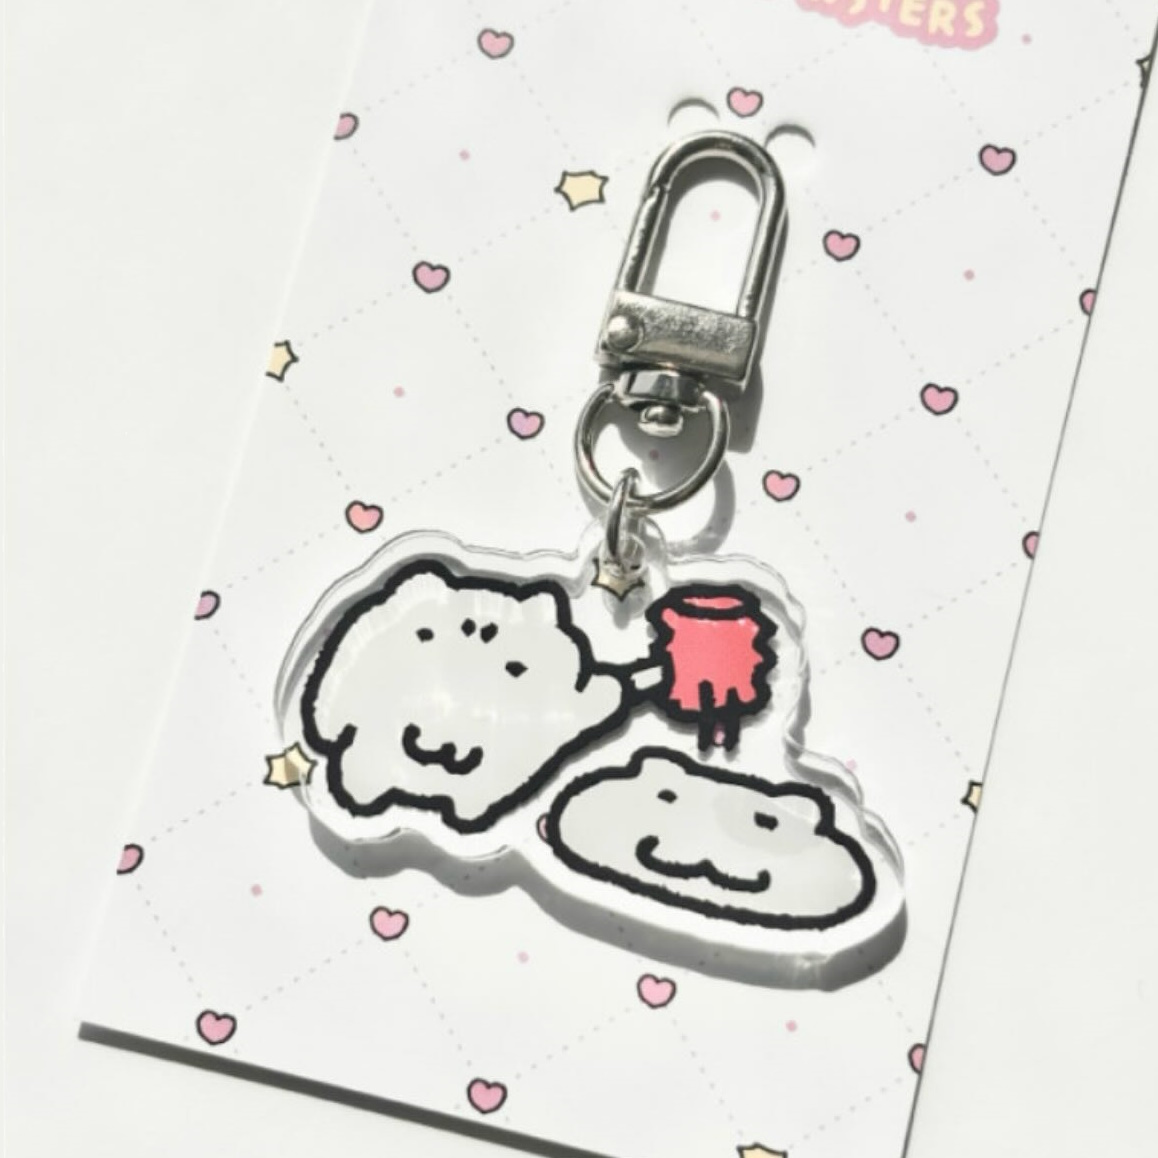
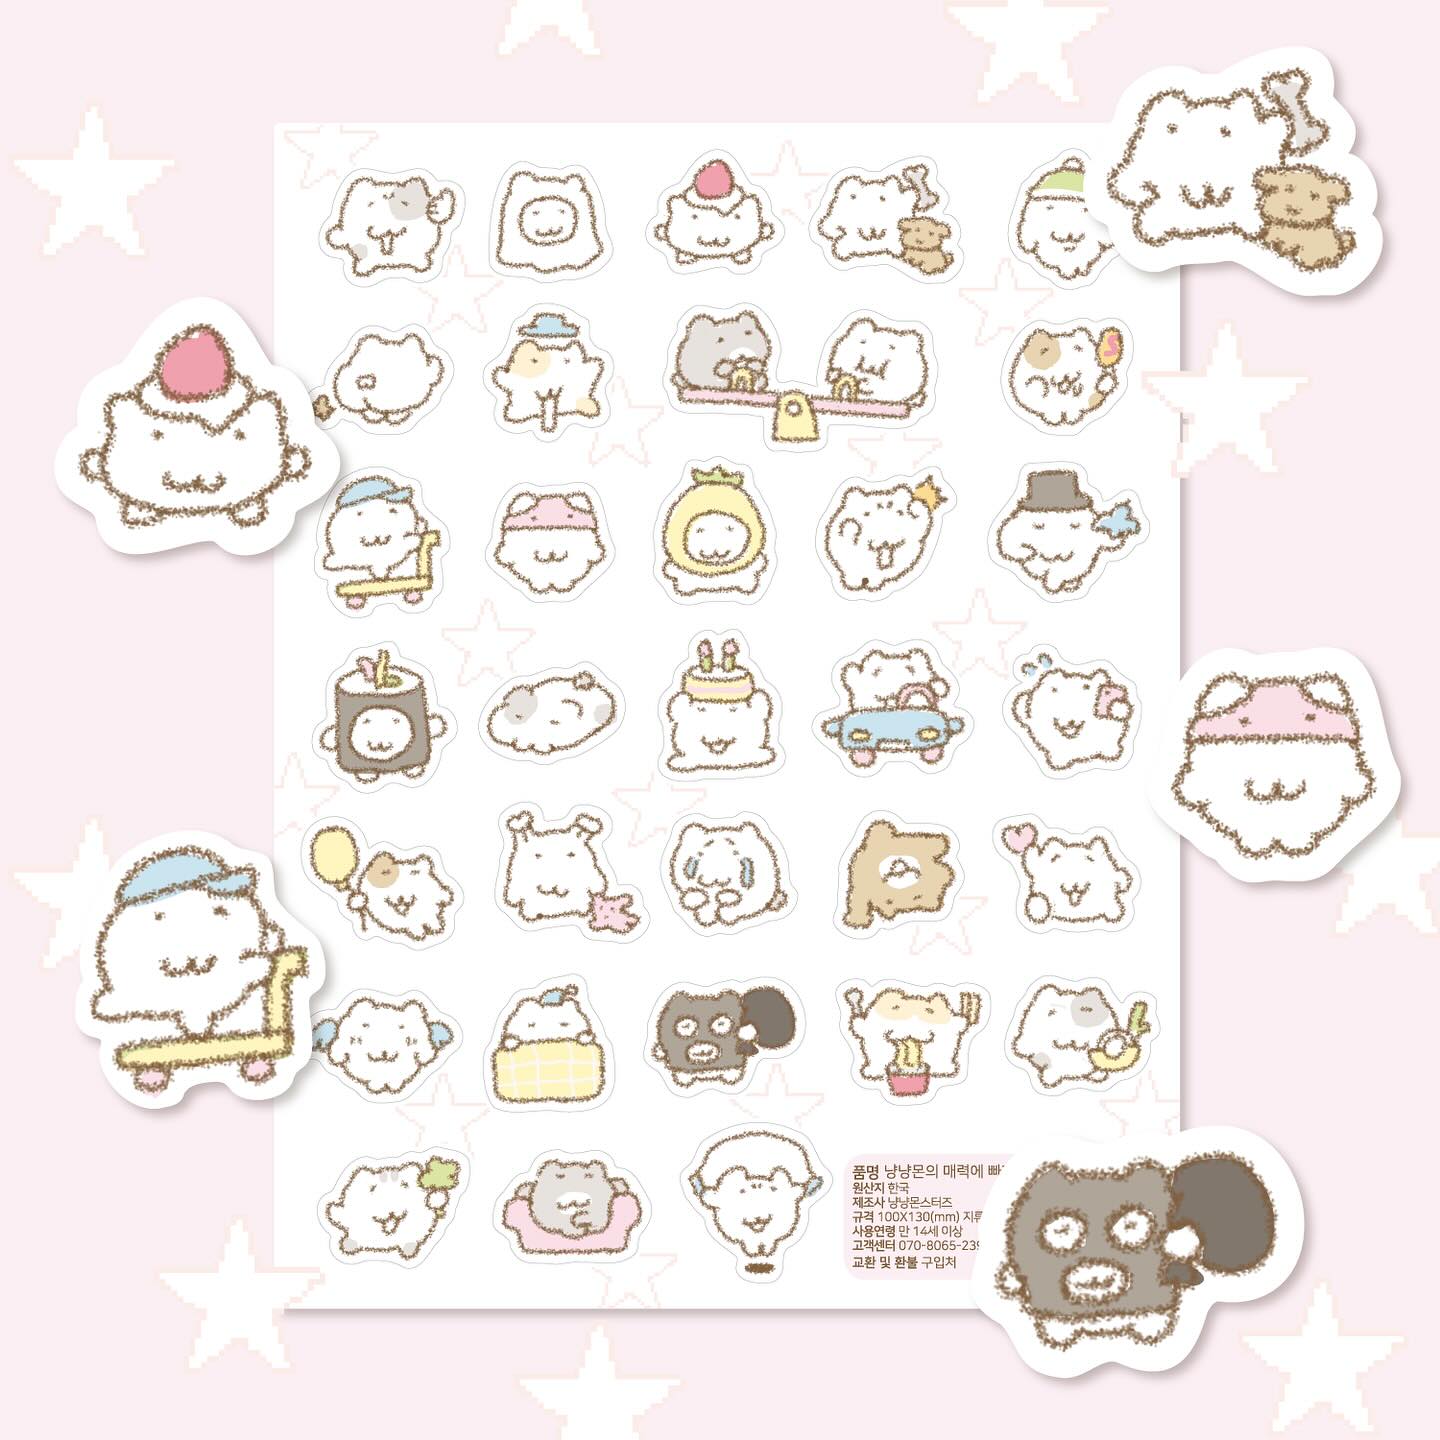
'Object shops' are a popular phenomenon in South Korea, shops that sell goods by various artists and feel to me like mini artist's alleys. Our friend from South Korea told us about artists in the object shop world whose character goods were popular, and it was exciting to me that this was a viable route for illustrators in Korea, albeit a very commercial one. Some characters that really left an impression on me were the 'Meomonsters' (pictured below). Japan may be famous for mascot design, but I think Korean artists take the ugly-cute gremlin creature designs to another level.
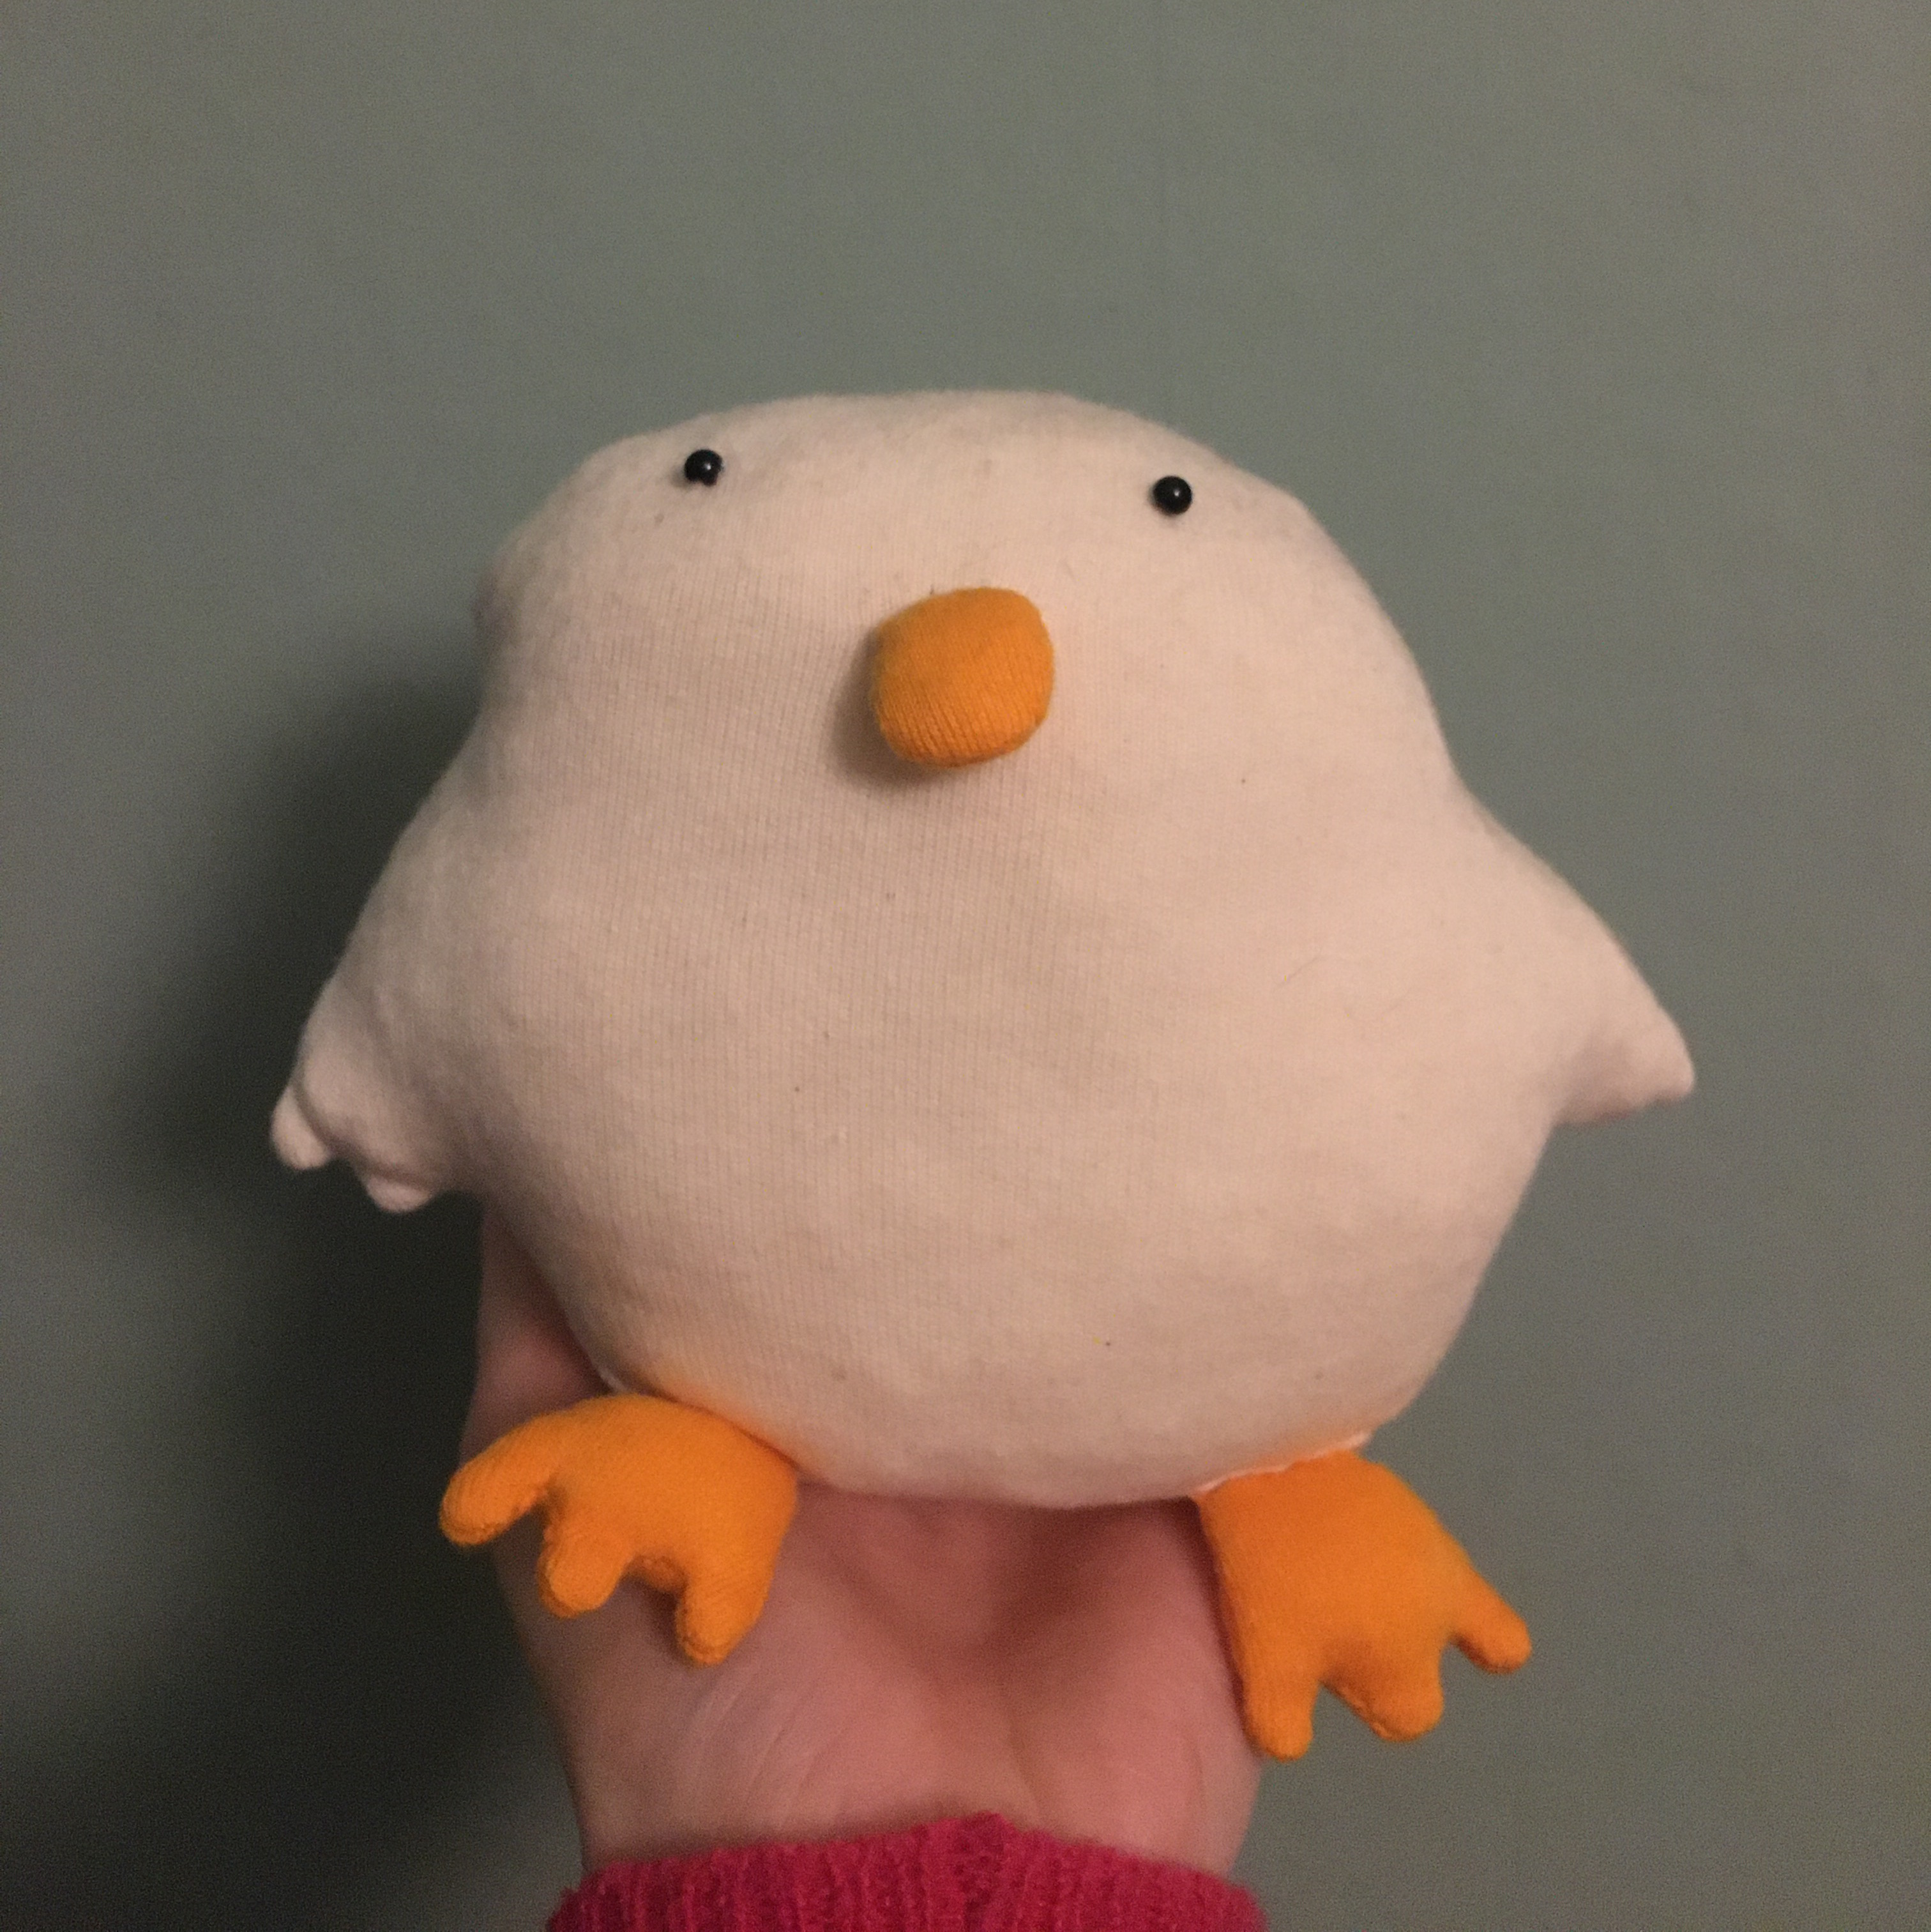
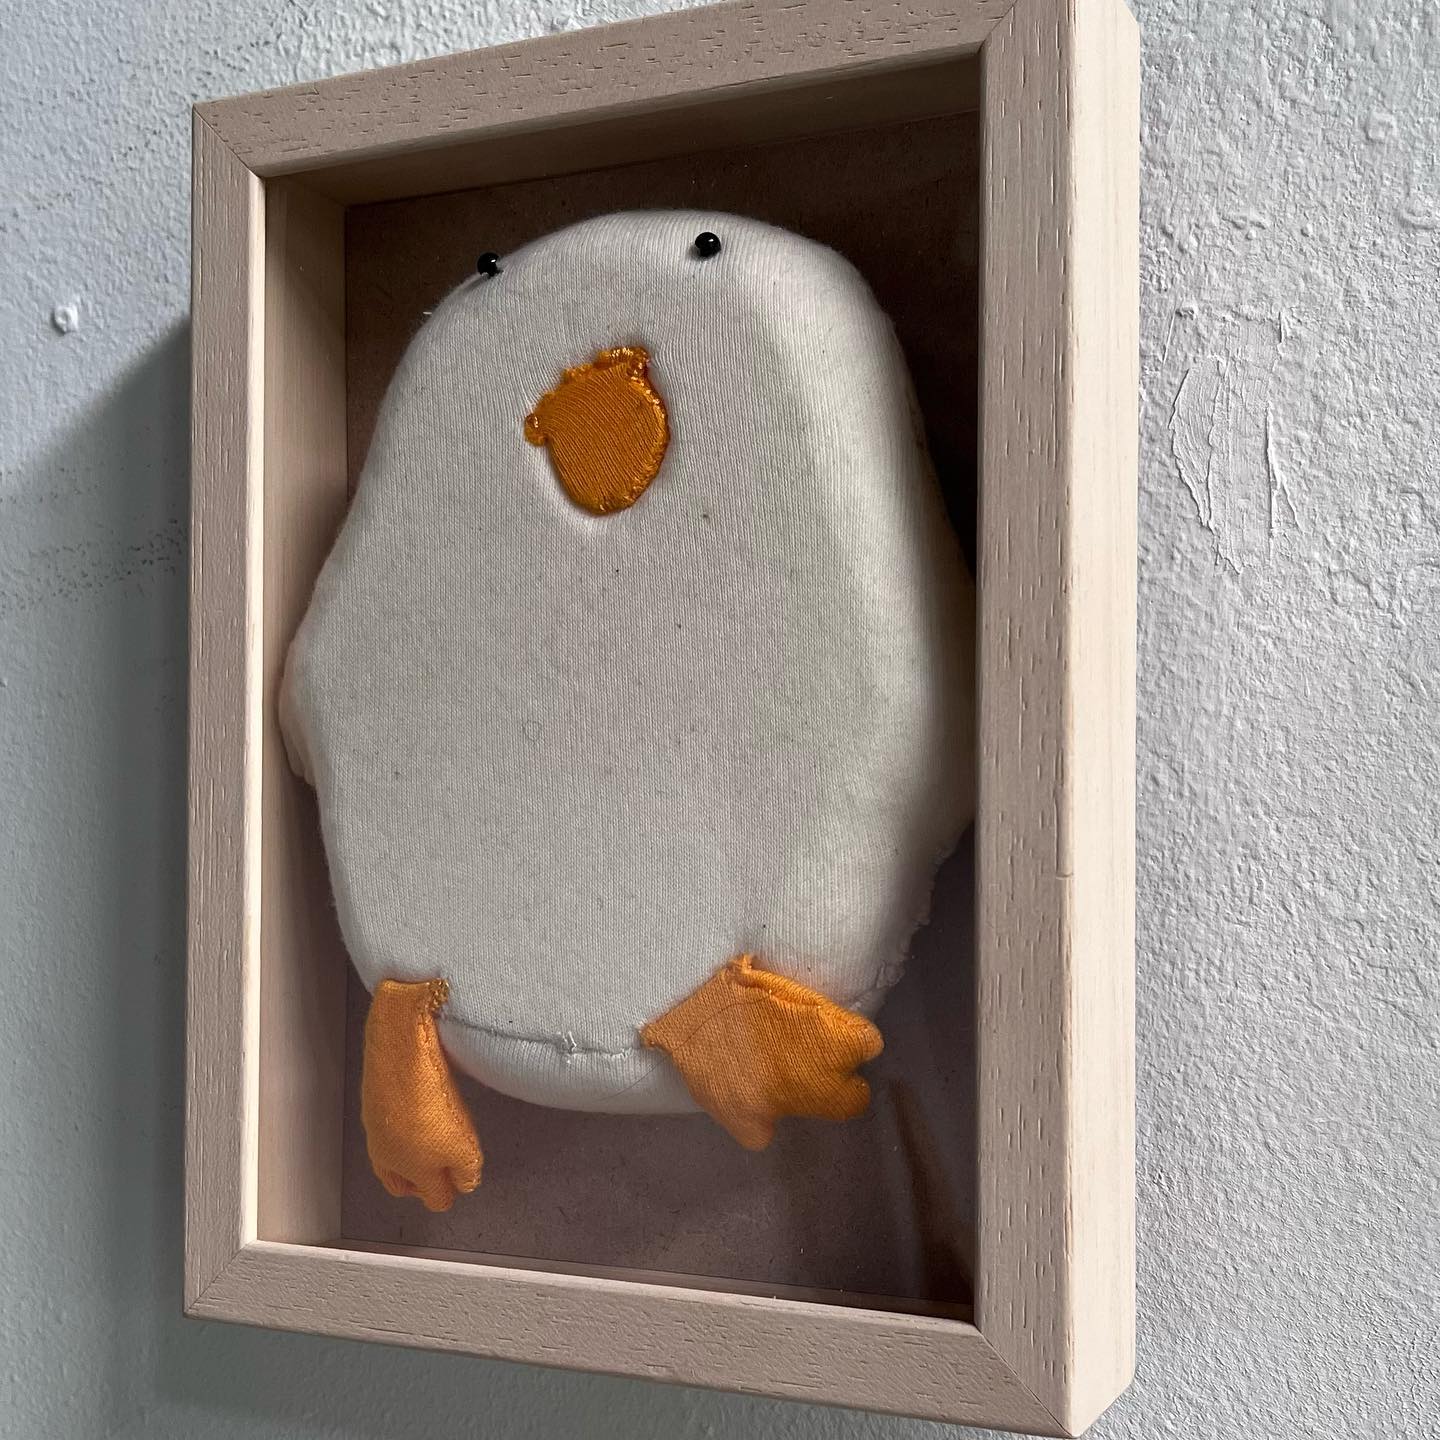
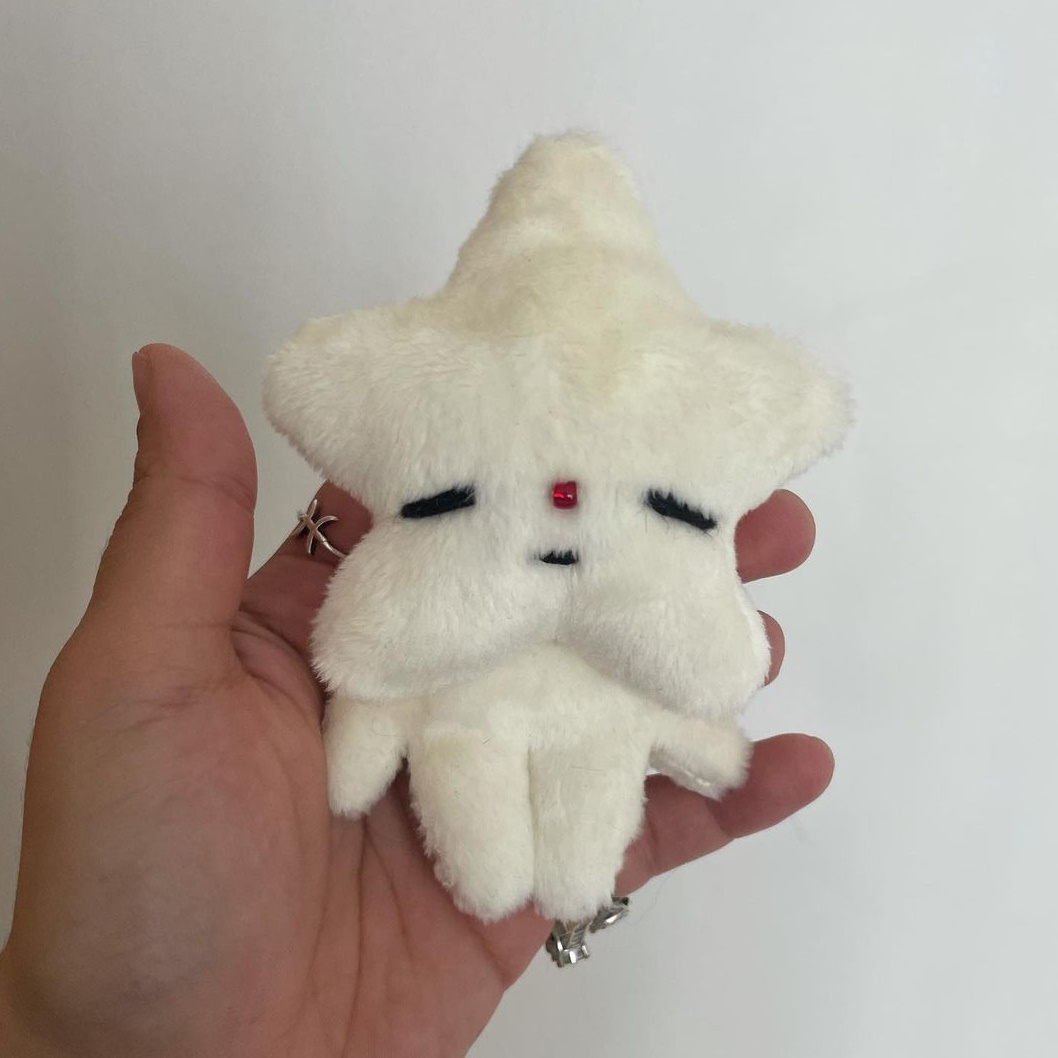
We were in Japan for Design Festa, a huge event for original art by indie artists, and there we were inundated with people's creatures. A lot of people made toys of their characters then postcards/stickers using pictures of the physical toy and I thought it looked sick. I really imprinted on Tomarigi Miu's character, I bought the keychain, plush and derranged photocards of her pathetic looking squishable duck Mochigami. The beady eyes, the perfect placement of the beak - it drove me insane. The toys were stuffed with what I think are memory foam beads which gave them an amazing squashable texture. (She also sold them squashed into picture frames which I think is truly inspired)
So these creatures were the spark of inspiration that drove me to making my moss guys, my only wish is to make them even more melted and fucked up in the future. Anyway, here's the actually process of how I made what I called my 'moss specimens' (I think they need a better name):
☆ Step 0: Sketch + research ☆
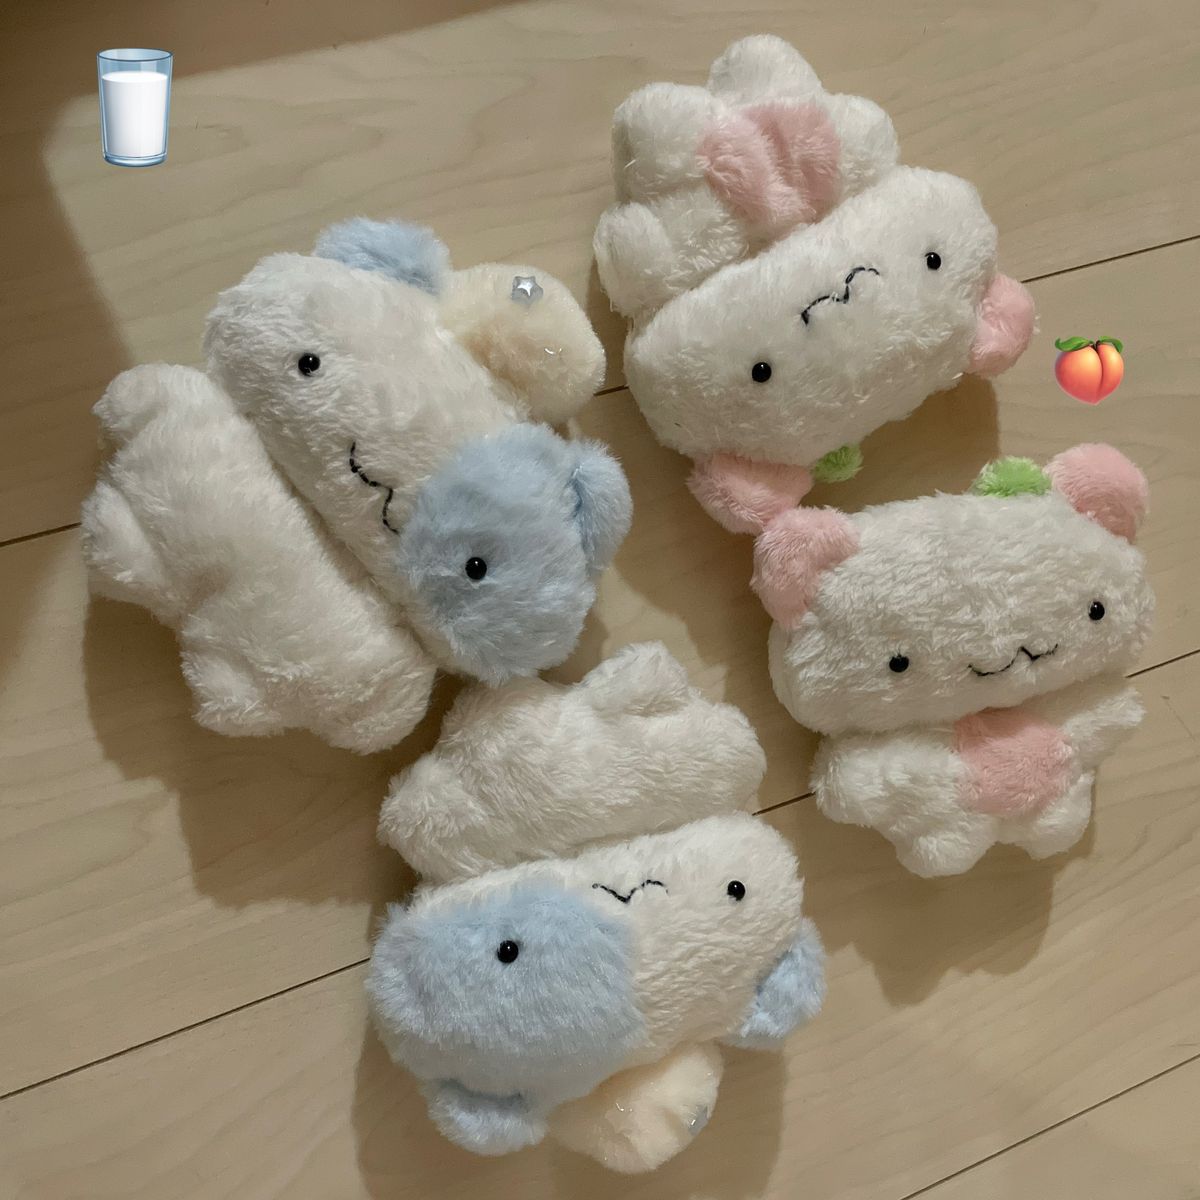
Referencing my mossmoji pixel art, I sketch how I imagine the plush to look. A lot of this process was purely mental visualisation I'm afraid. I was particularly unsure about how to attach the head to the body so I looked to other plushes for reference. Here are some of the toys I looked at when thinking about how to construct the moss specimens, although it was difficult to really glean anything without being able to examine them in person:
☆ Step 0.5: Test and make a pattern ☆
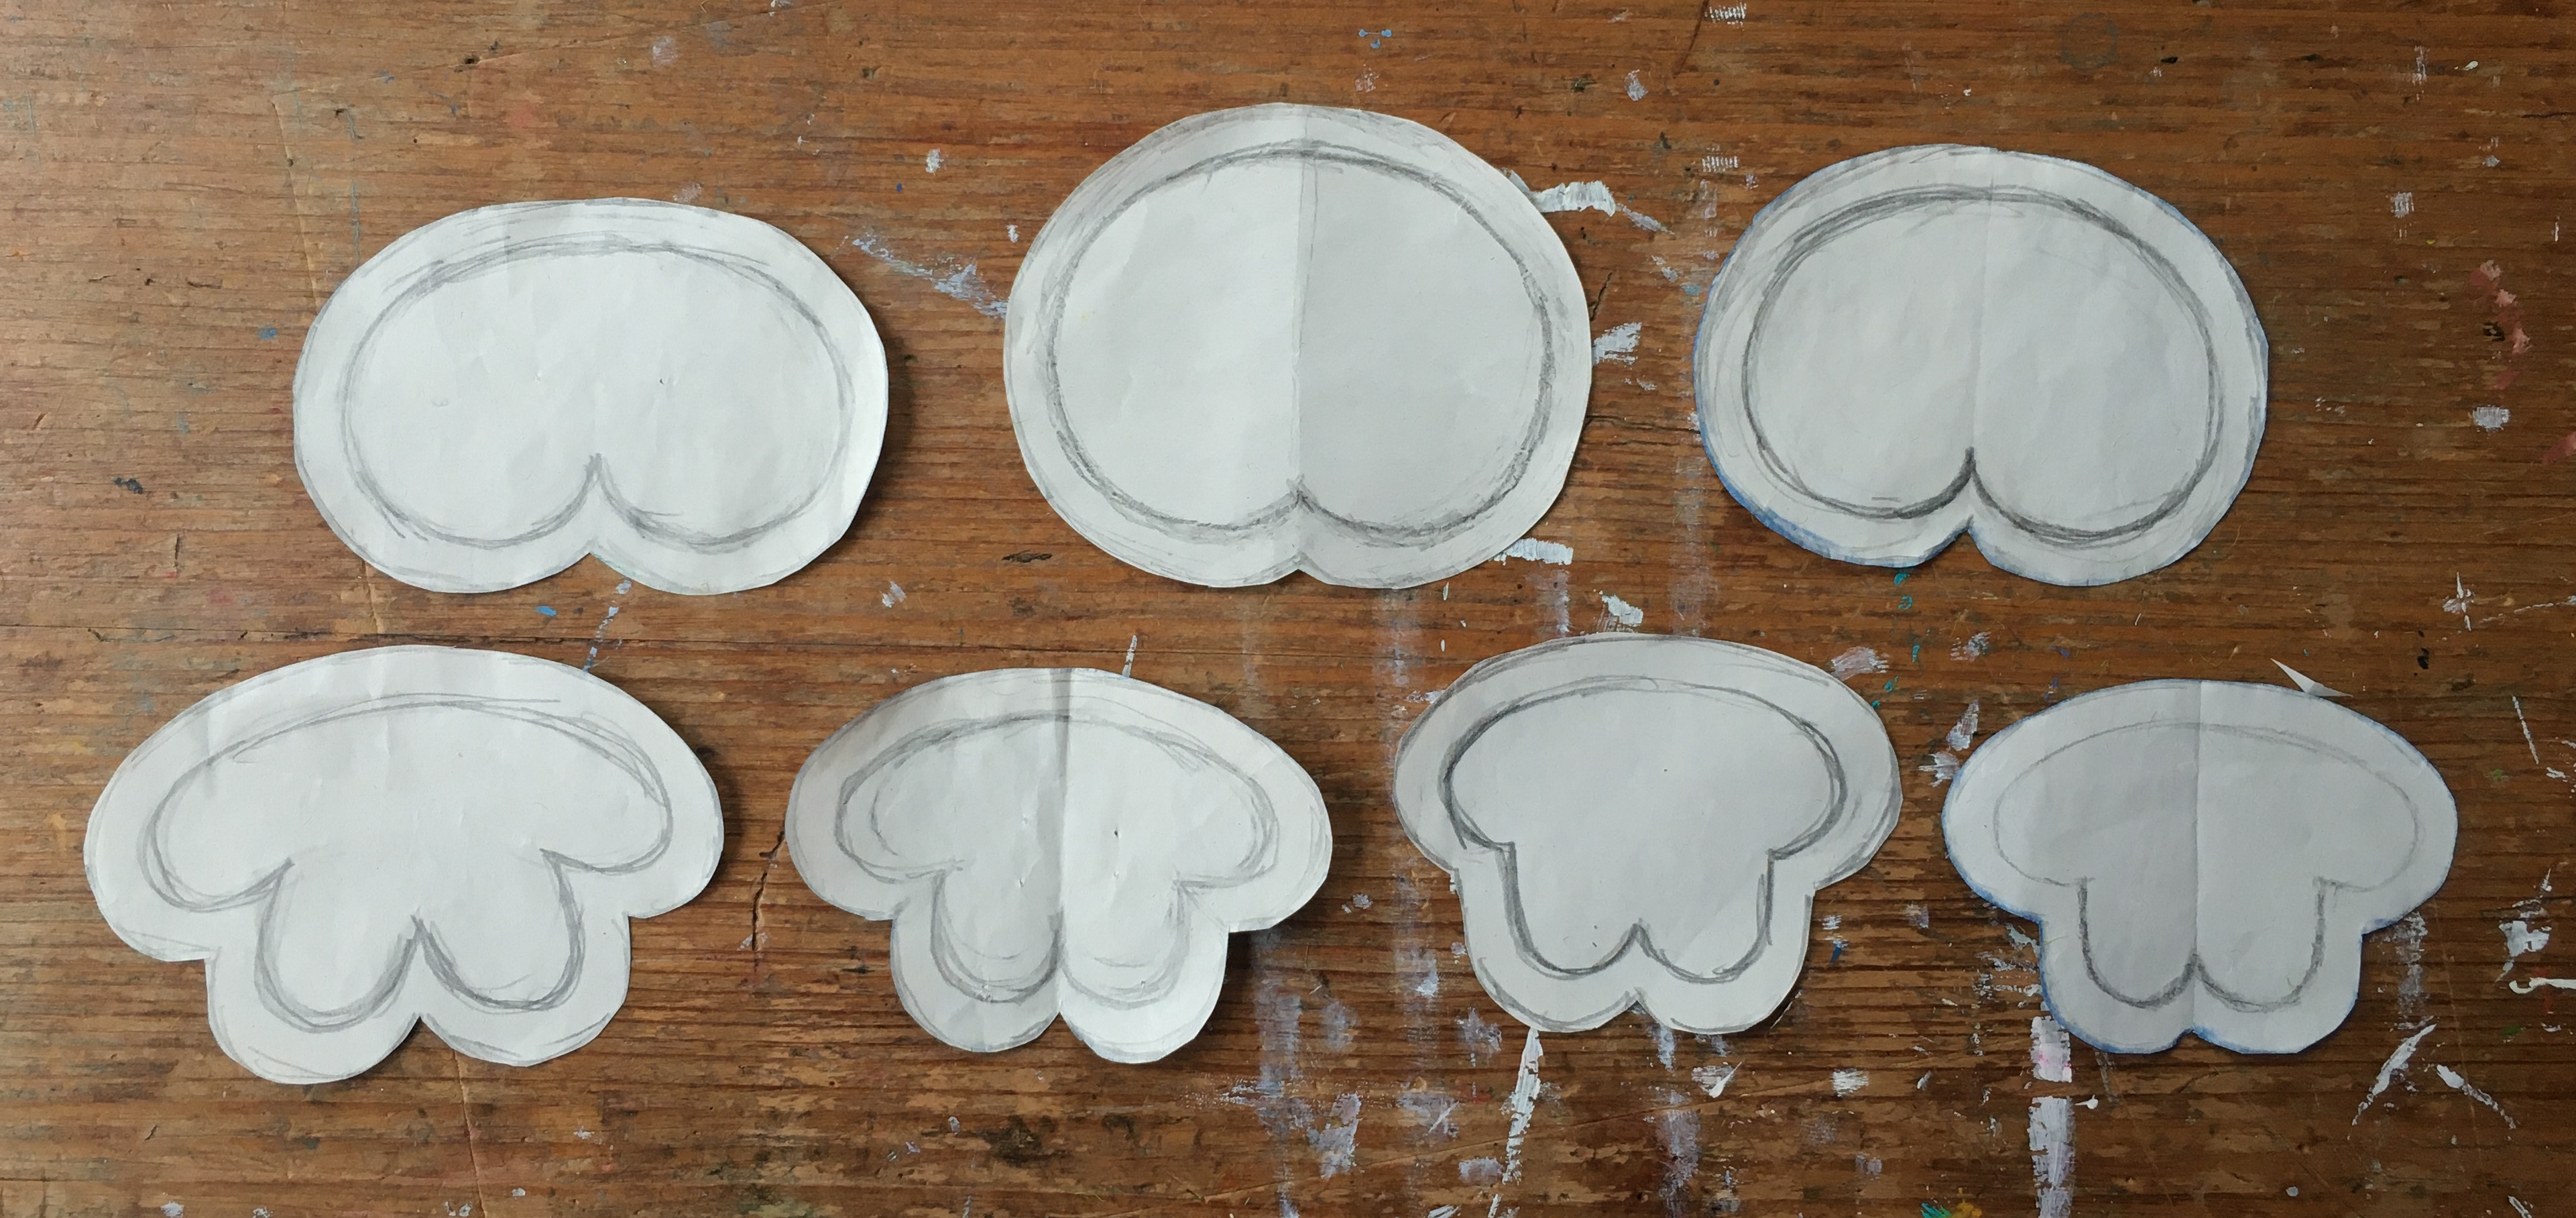
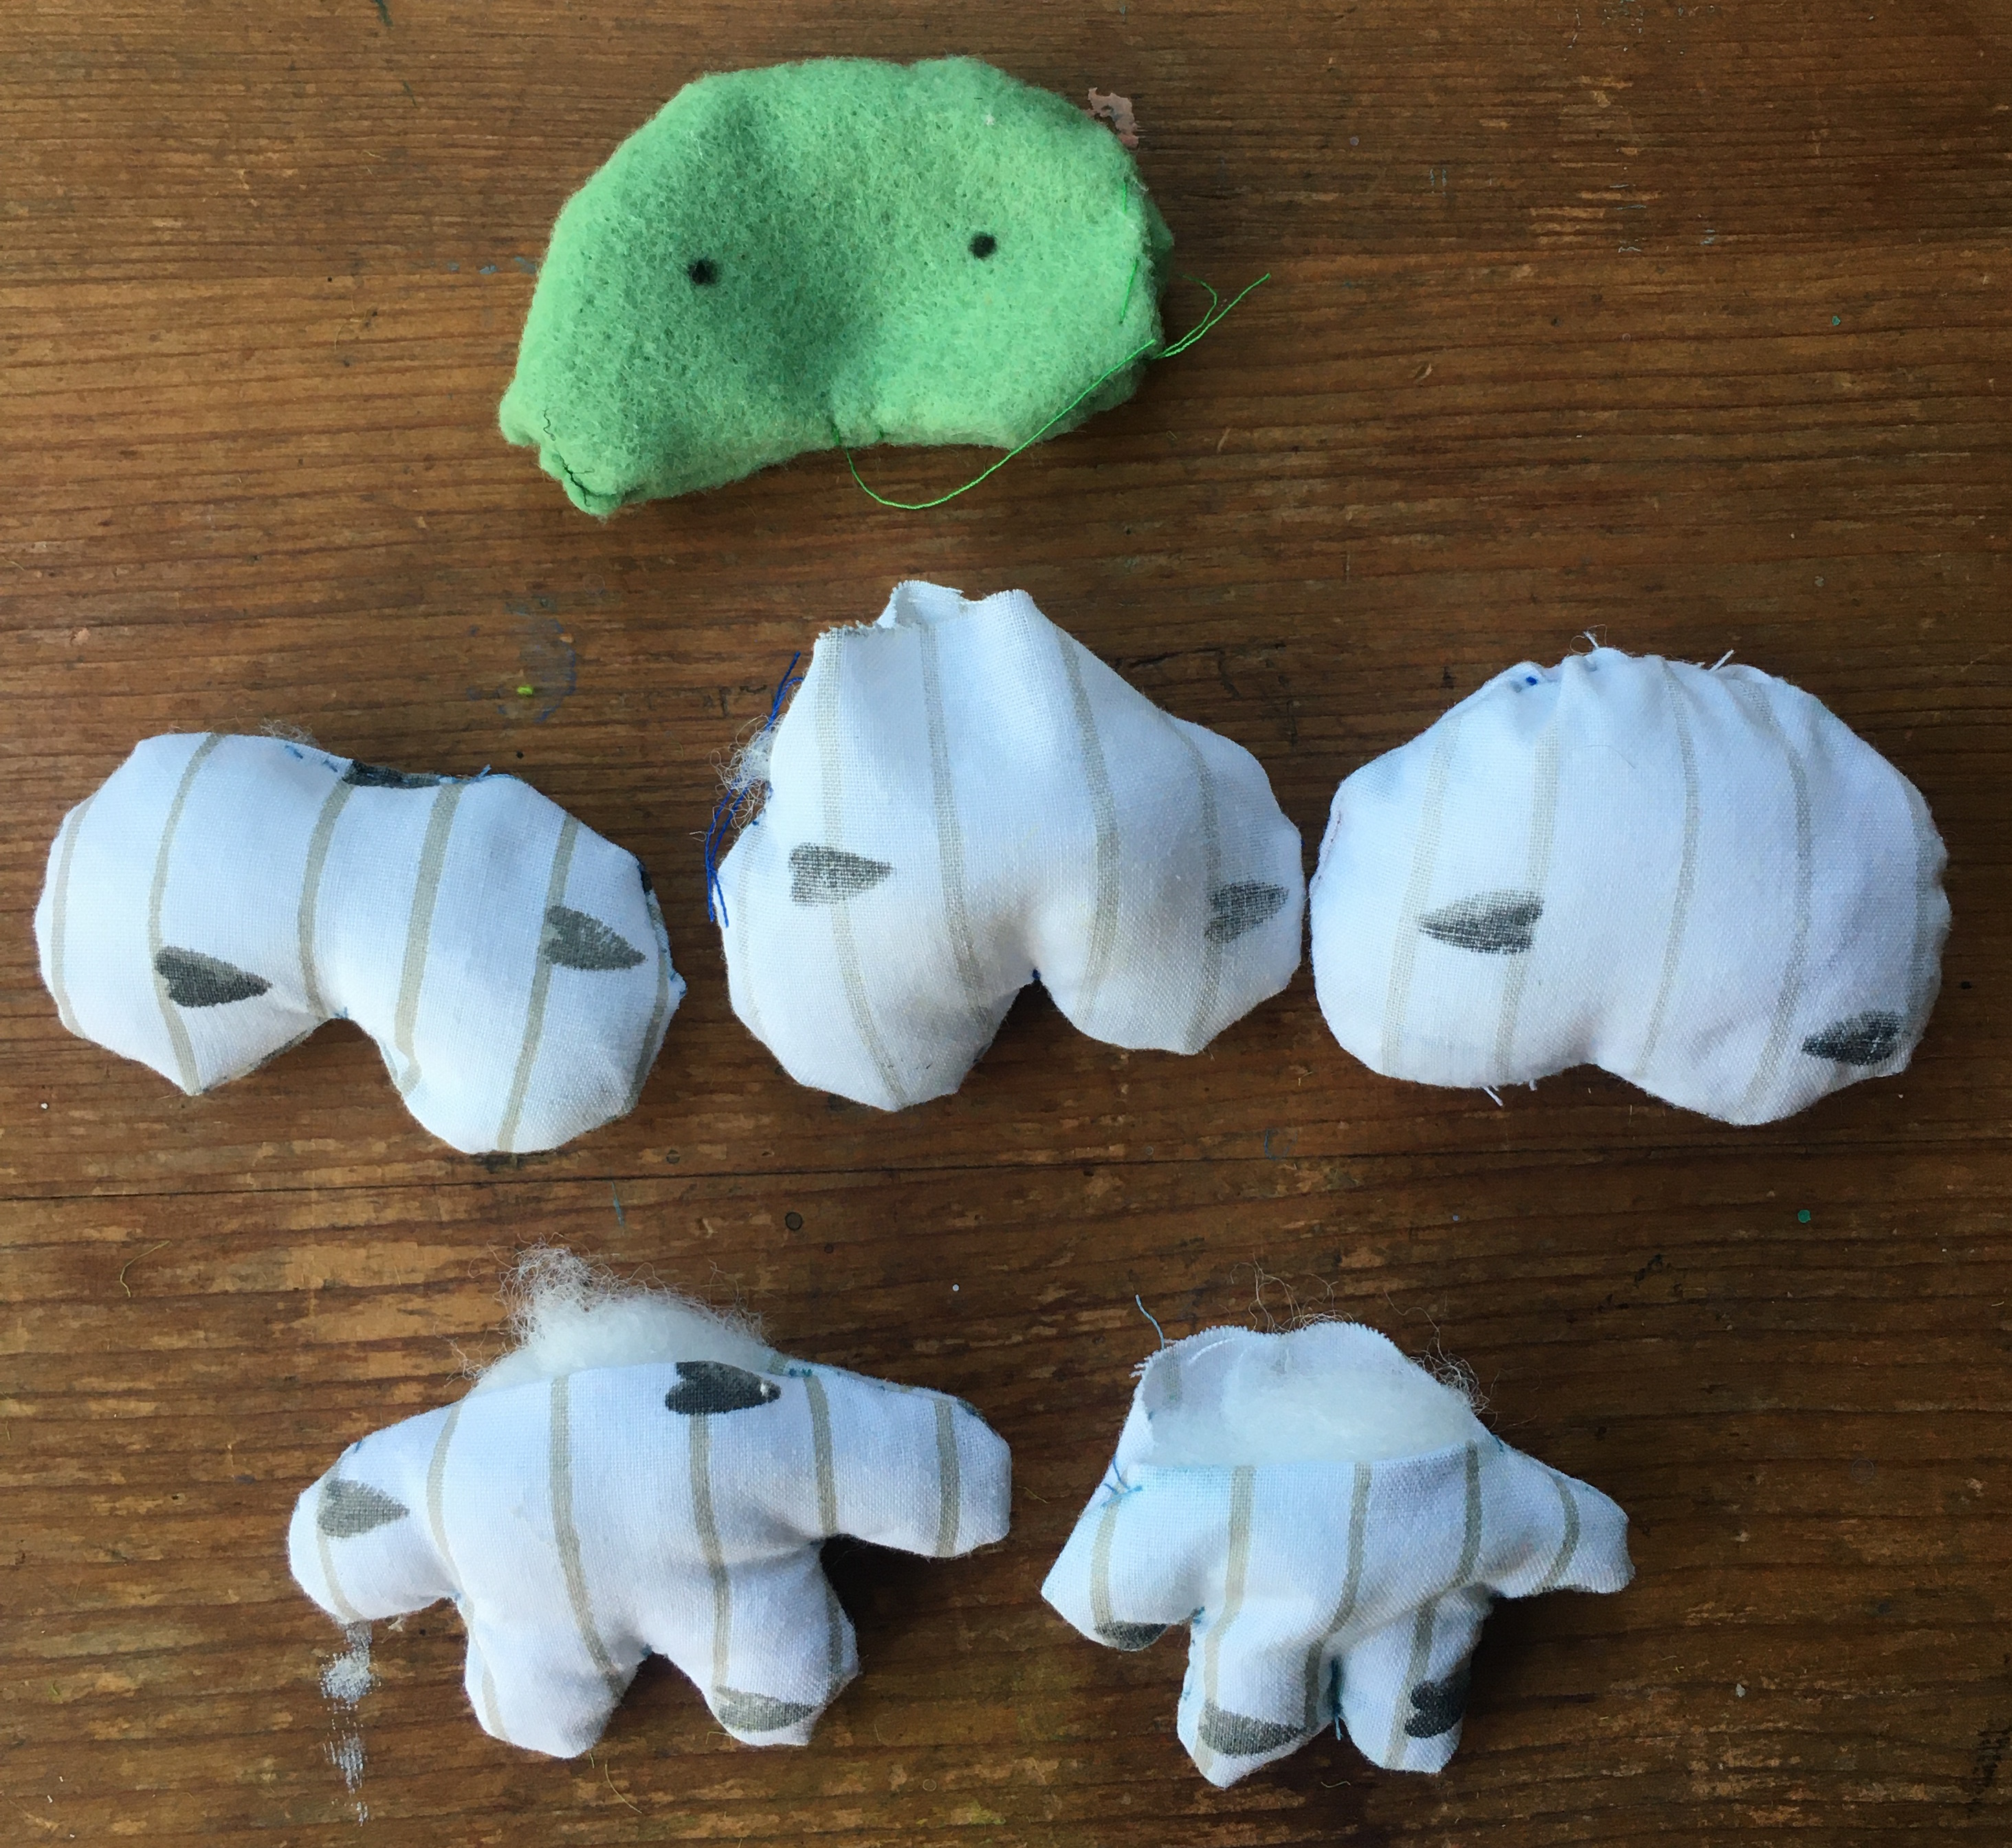
This is big for me because I'm quite impatient, especially when to comes to sewing. Usually I just go straight ahead cutting and sewing and trying to fix it as I go, causing all kinds of problems. But because my fabric was more expensive than the scraps I usually work with (and limited), and I would be using the same template over and over again, I decided to be restrained and actually put time into drawing out and testing a pattern to get it right. I drew a shape I thought would be right onto some newsprint paper, cut it out of some scrap fabric, roughly and impatiently sewed it together, then tried to make a new paper template to adjust the parts I didn't think were quite right. I ended up going through 3 versions before I found one that I was happy with.
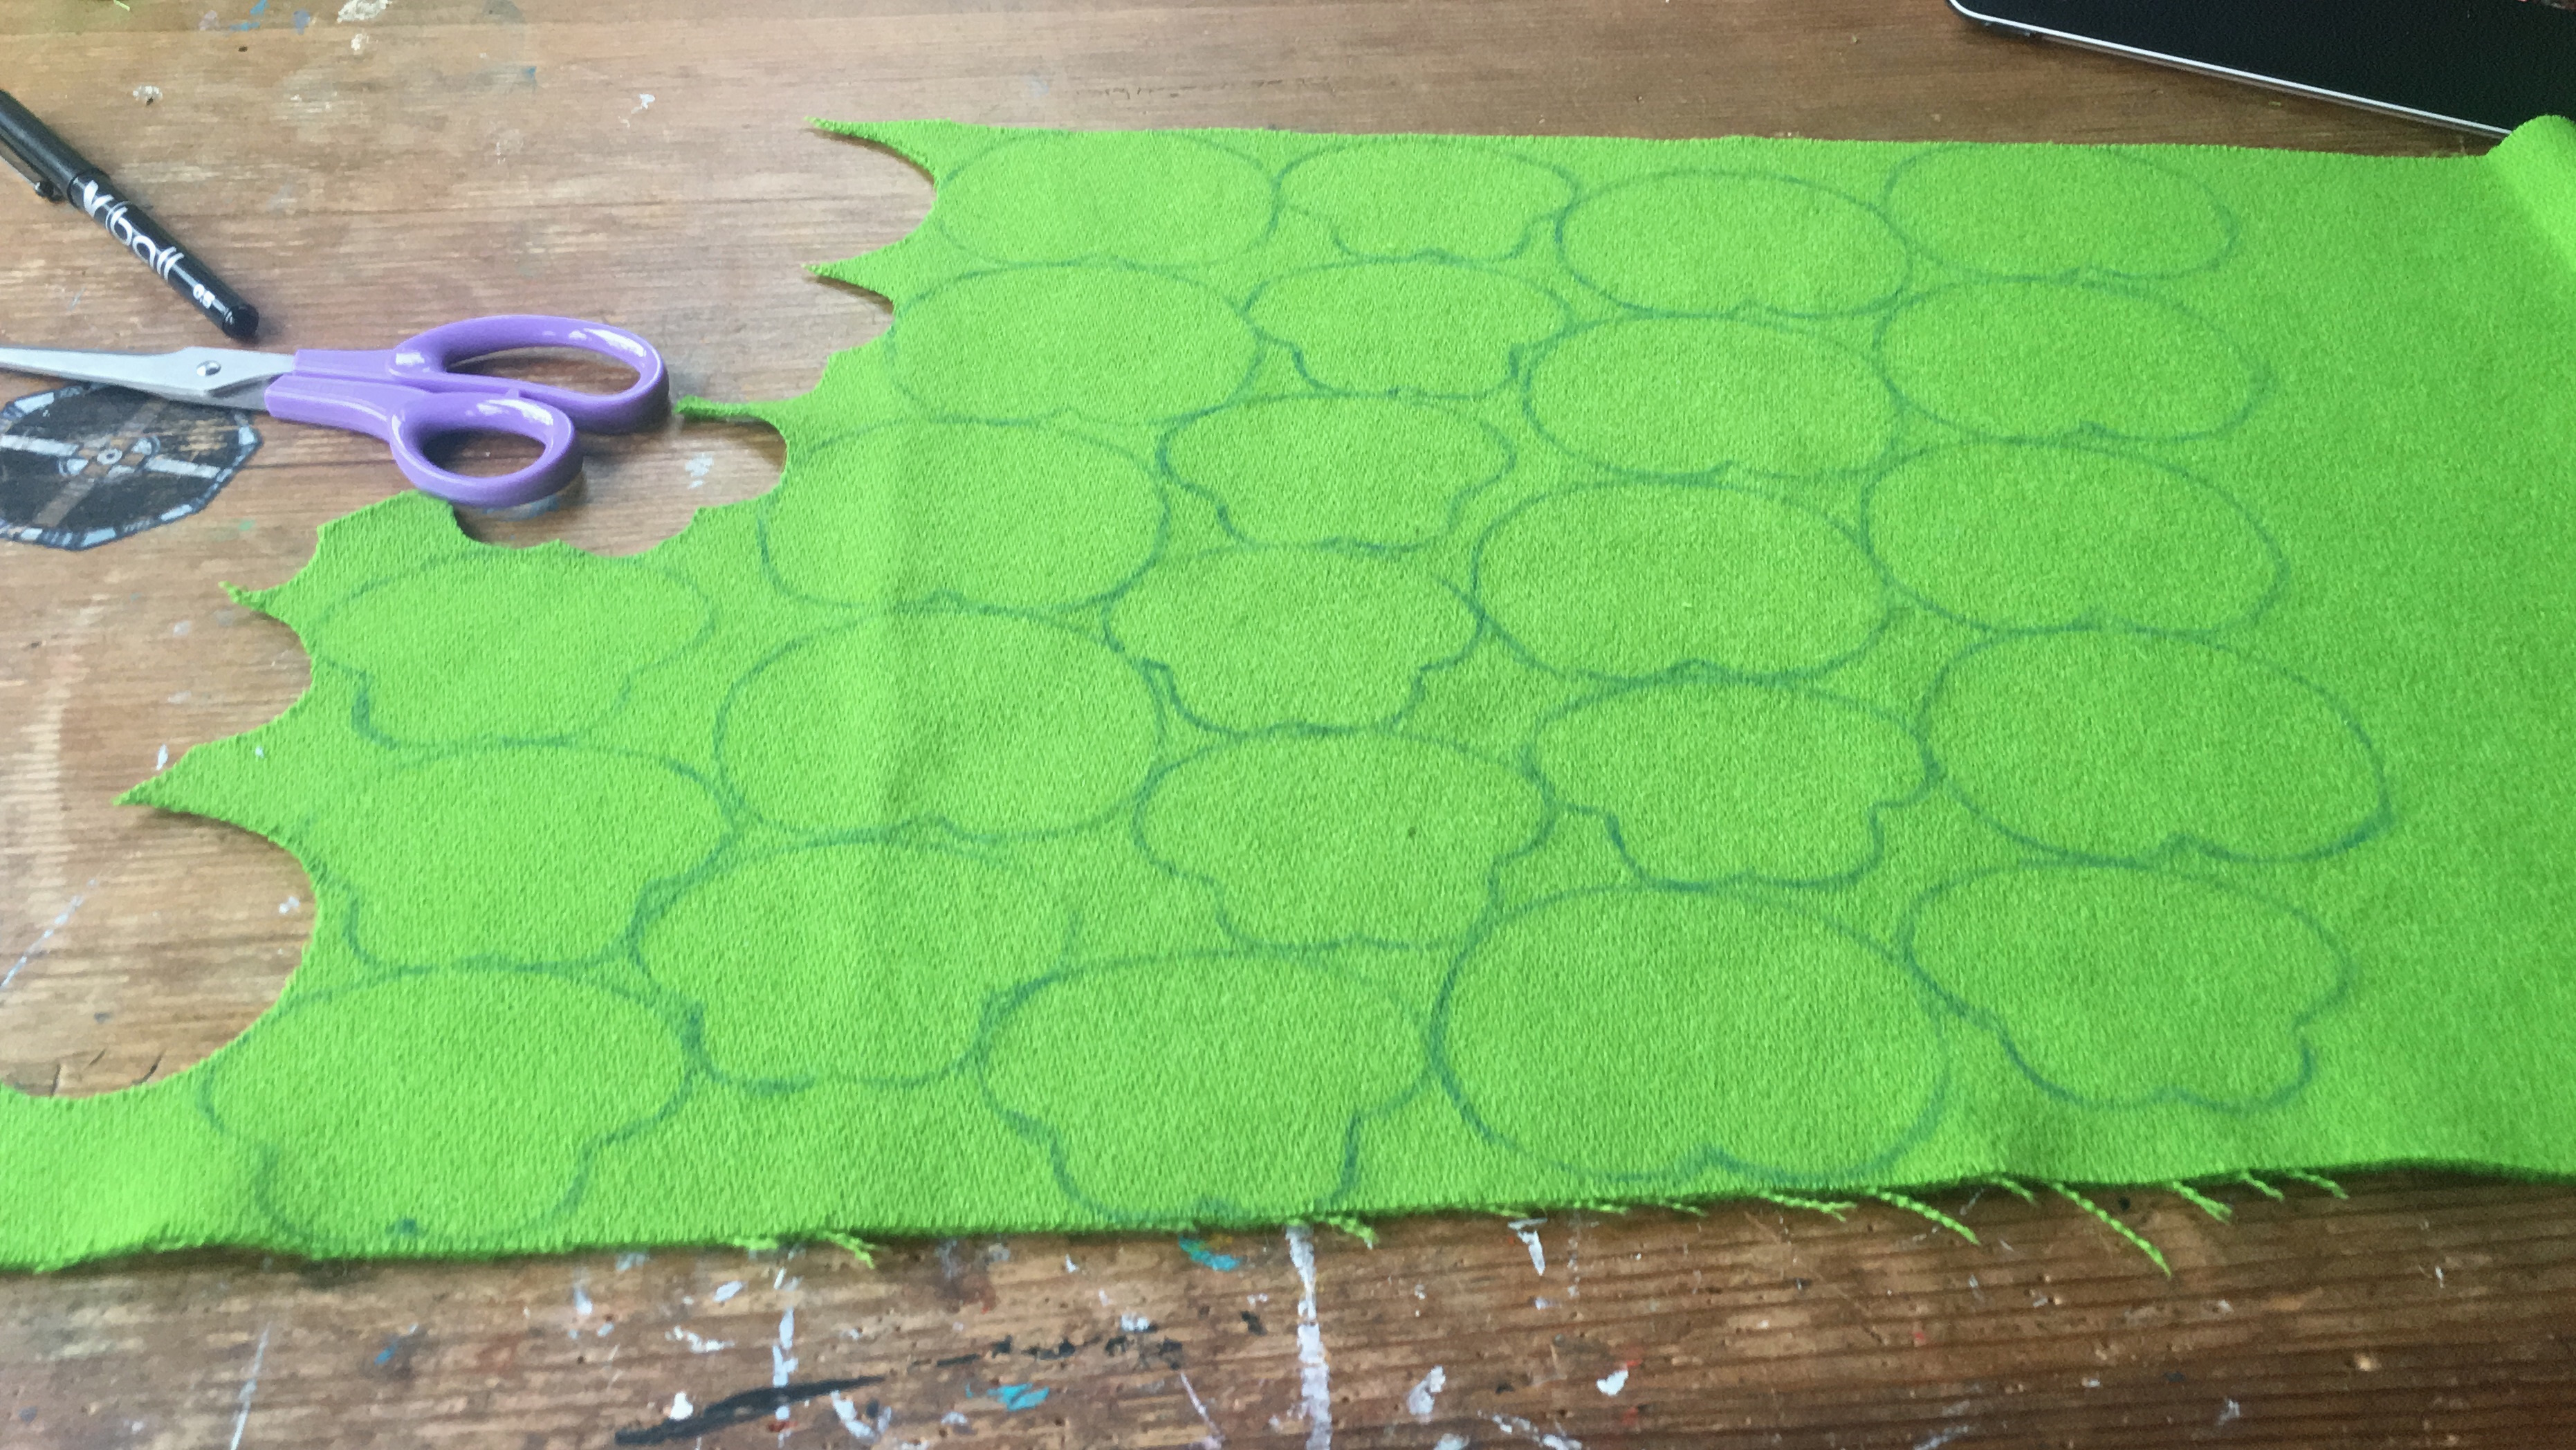
☆ Step 1: Trace the template onto the fabric ☆
This is where the real making process begins. I traced the body and head templates onto the back of my fabric with a blue chalk pencil. My fabric has short green fur with a 'nap' - the fur lies down in a specific direction. This means all the pieces must be oriented the same way so that the fur all lies down in the same direction, so I have to accept that the pieces won't jigsaw together perfectly and there will be some fabric waste T-T. I trace the templates in pairs for the back and front, flipping it to account for asymmetry so the pieces will fit together perfectly.
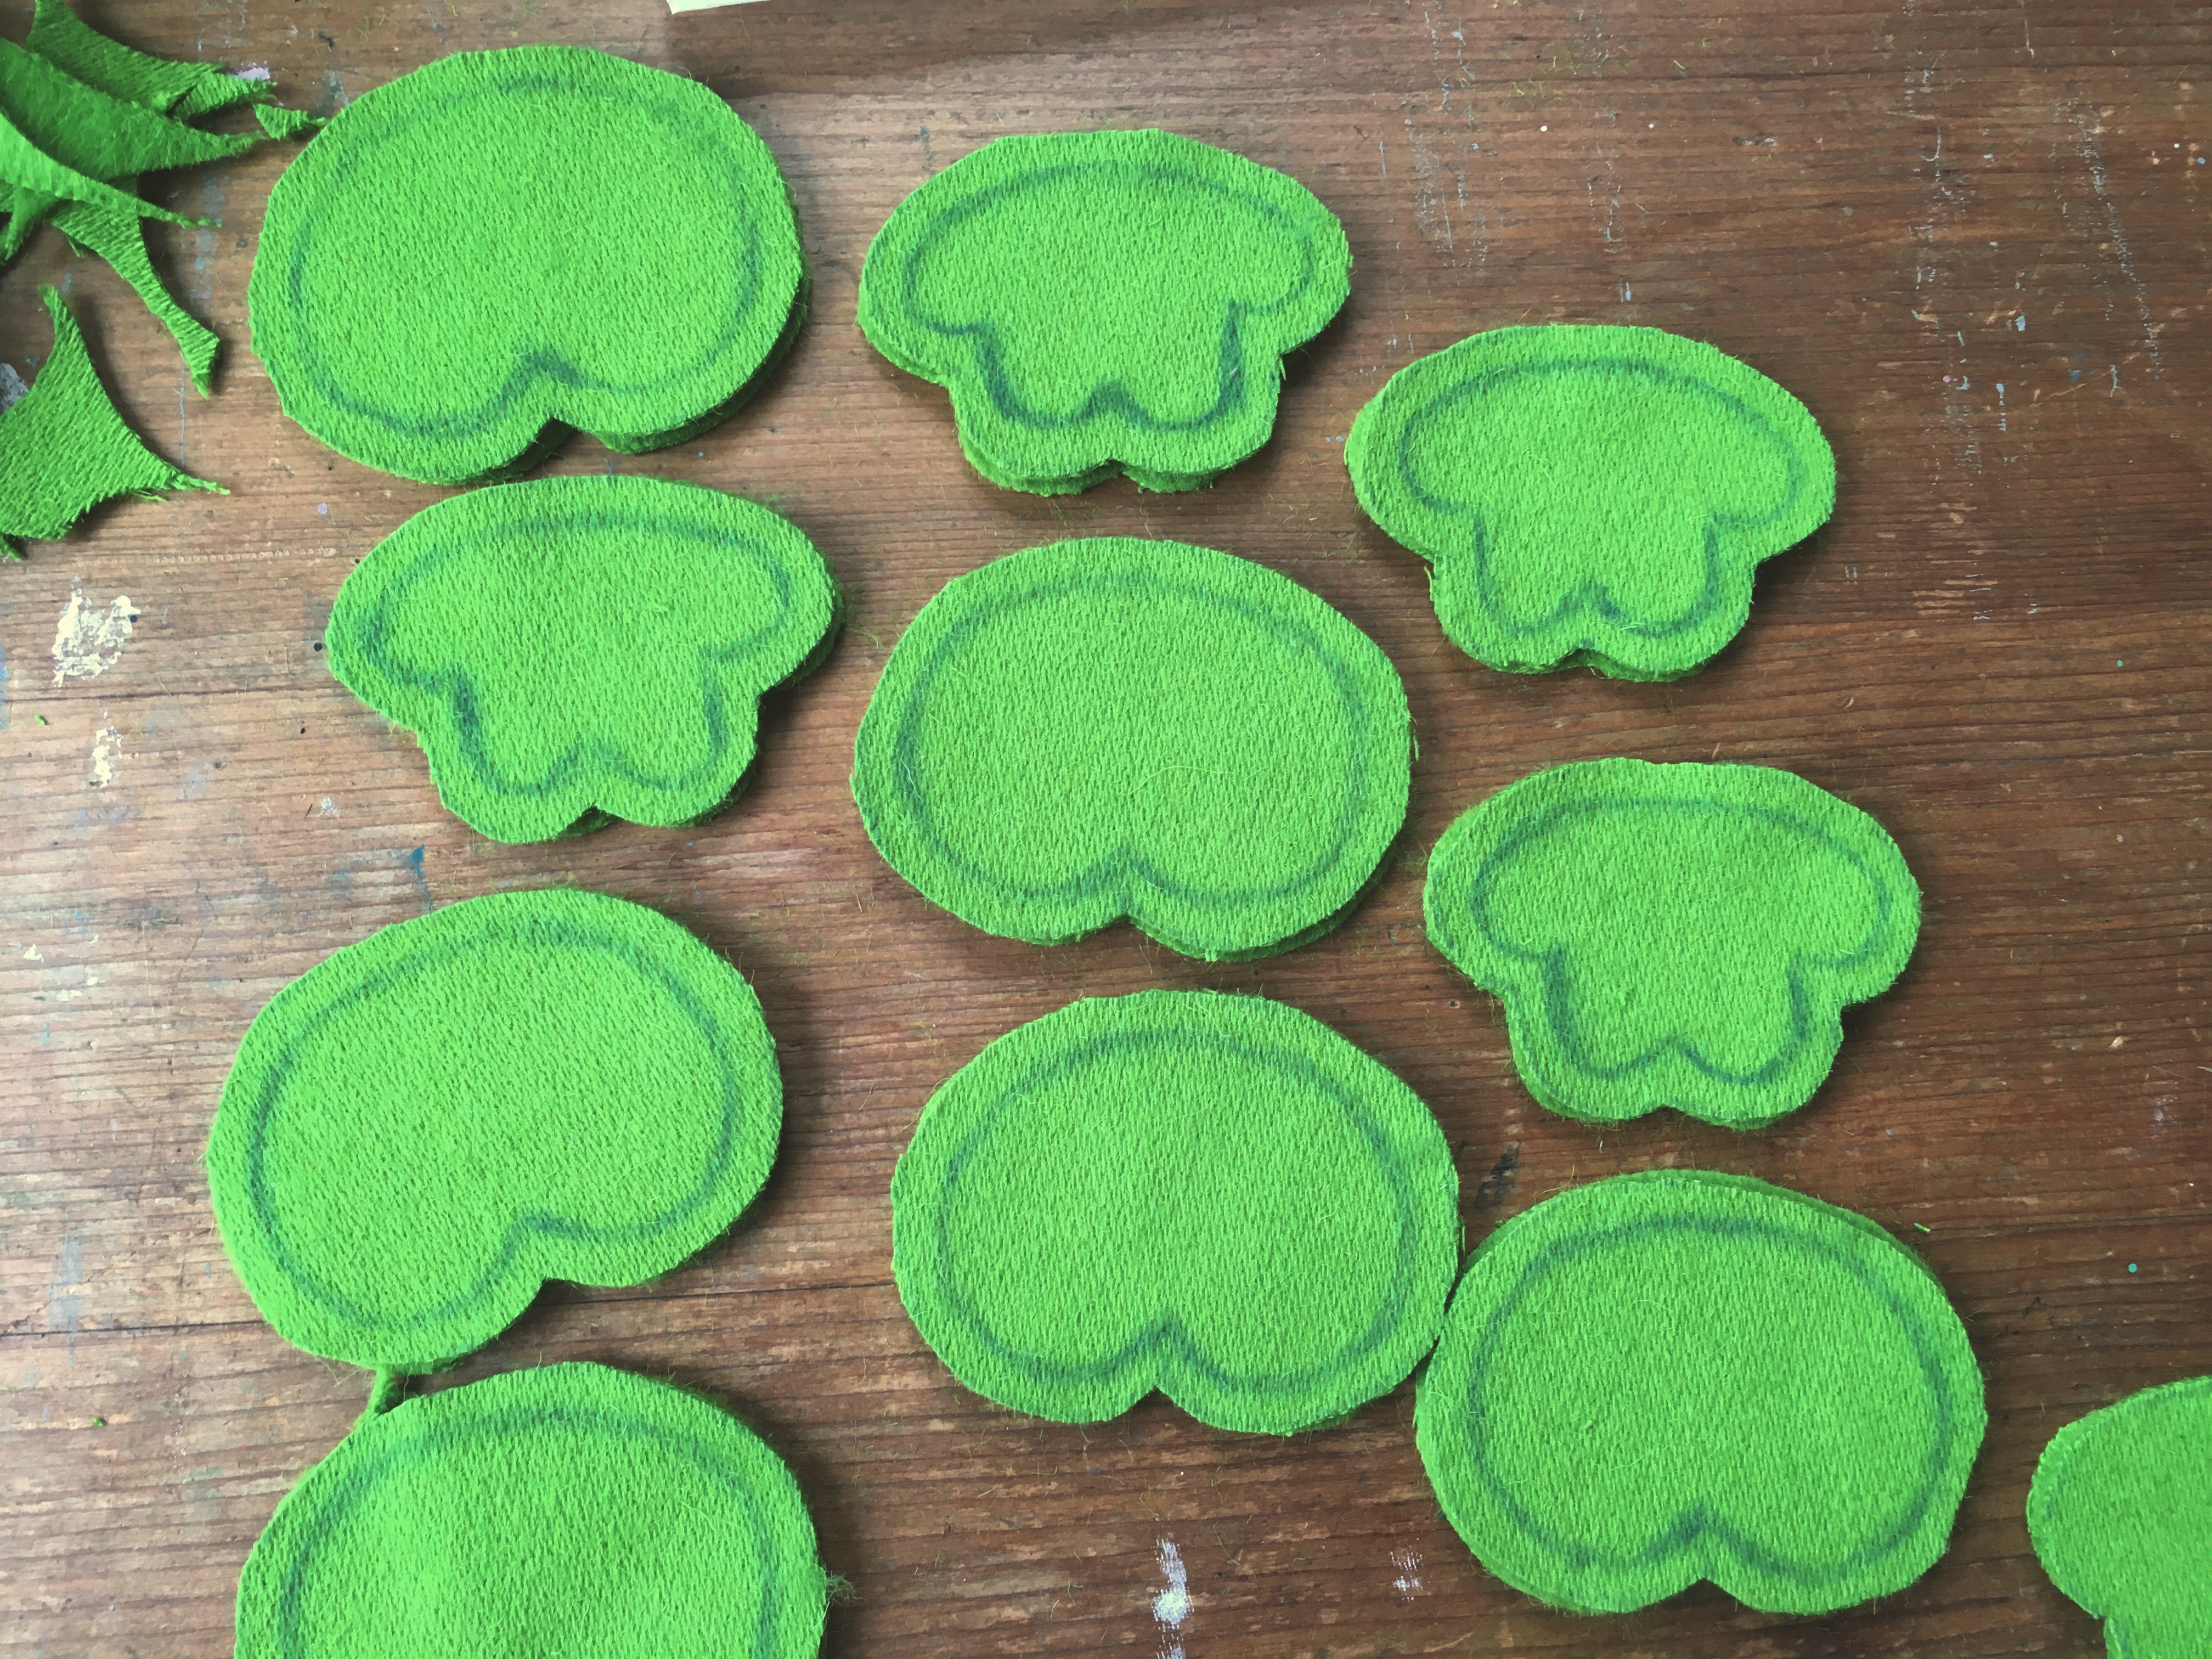
☆ Step 2: Cut out the pieces ☆
Seems like a simple step but actually takes forever.
☆ Step 3: Trace the sew line ☆
Another forgettable step that eats time. I face the two sides of the templates fur-in and draw the shape I will sew along with blue chalk pencil. Without this my machine sewing would be a complete mess. I kind of feel like most people wouldn't do this but I need it!!
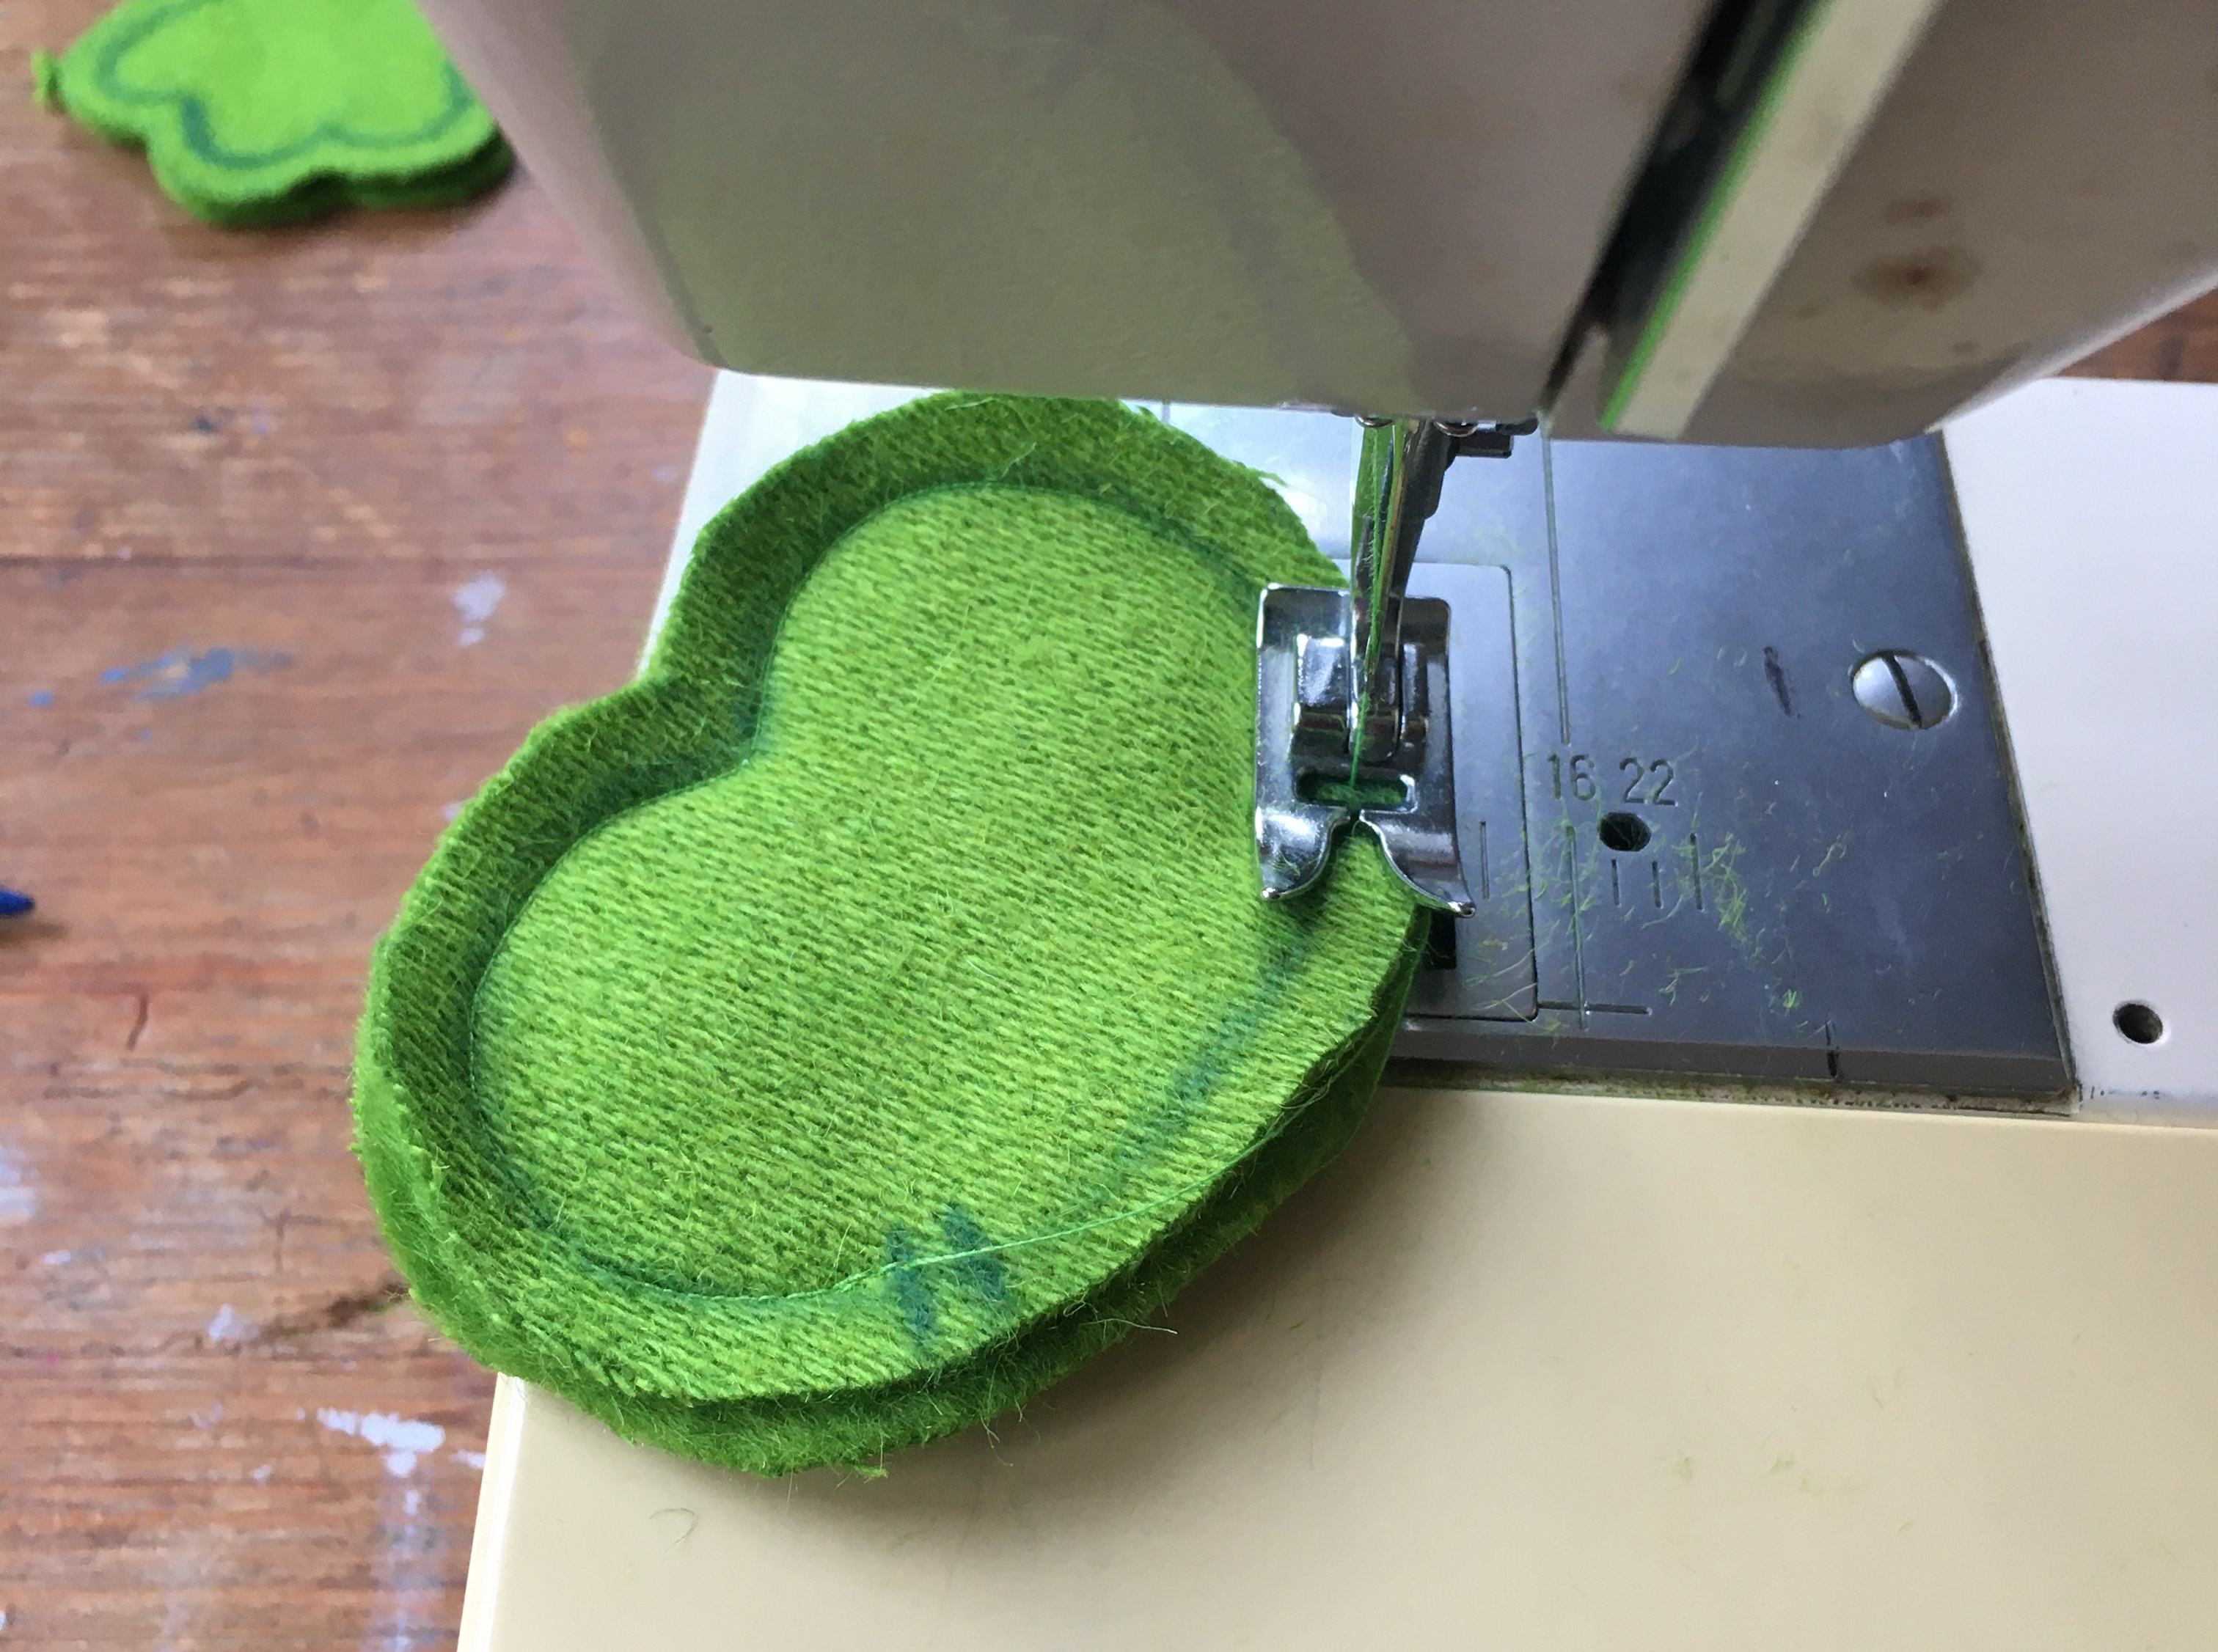
☆ Step 4: Machine sew! ☆
I have the machine tension on minimum and set to a short straight stitch for the tight corners. pinning the pieces together isn't necessary because the friction of the fur holds them together well enough, I tried to pin them but because the fabric is so small and thick it just made it lumpy and unwieldy. I sew along the blue line I've drawn, doubling back at the start and end for security, and leave a gap at the top to turn the pieces inside out (and to attach the antennae on the head). The gap always needed to be wider that I thought.
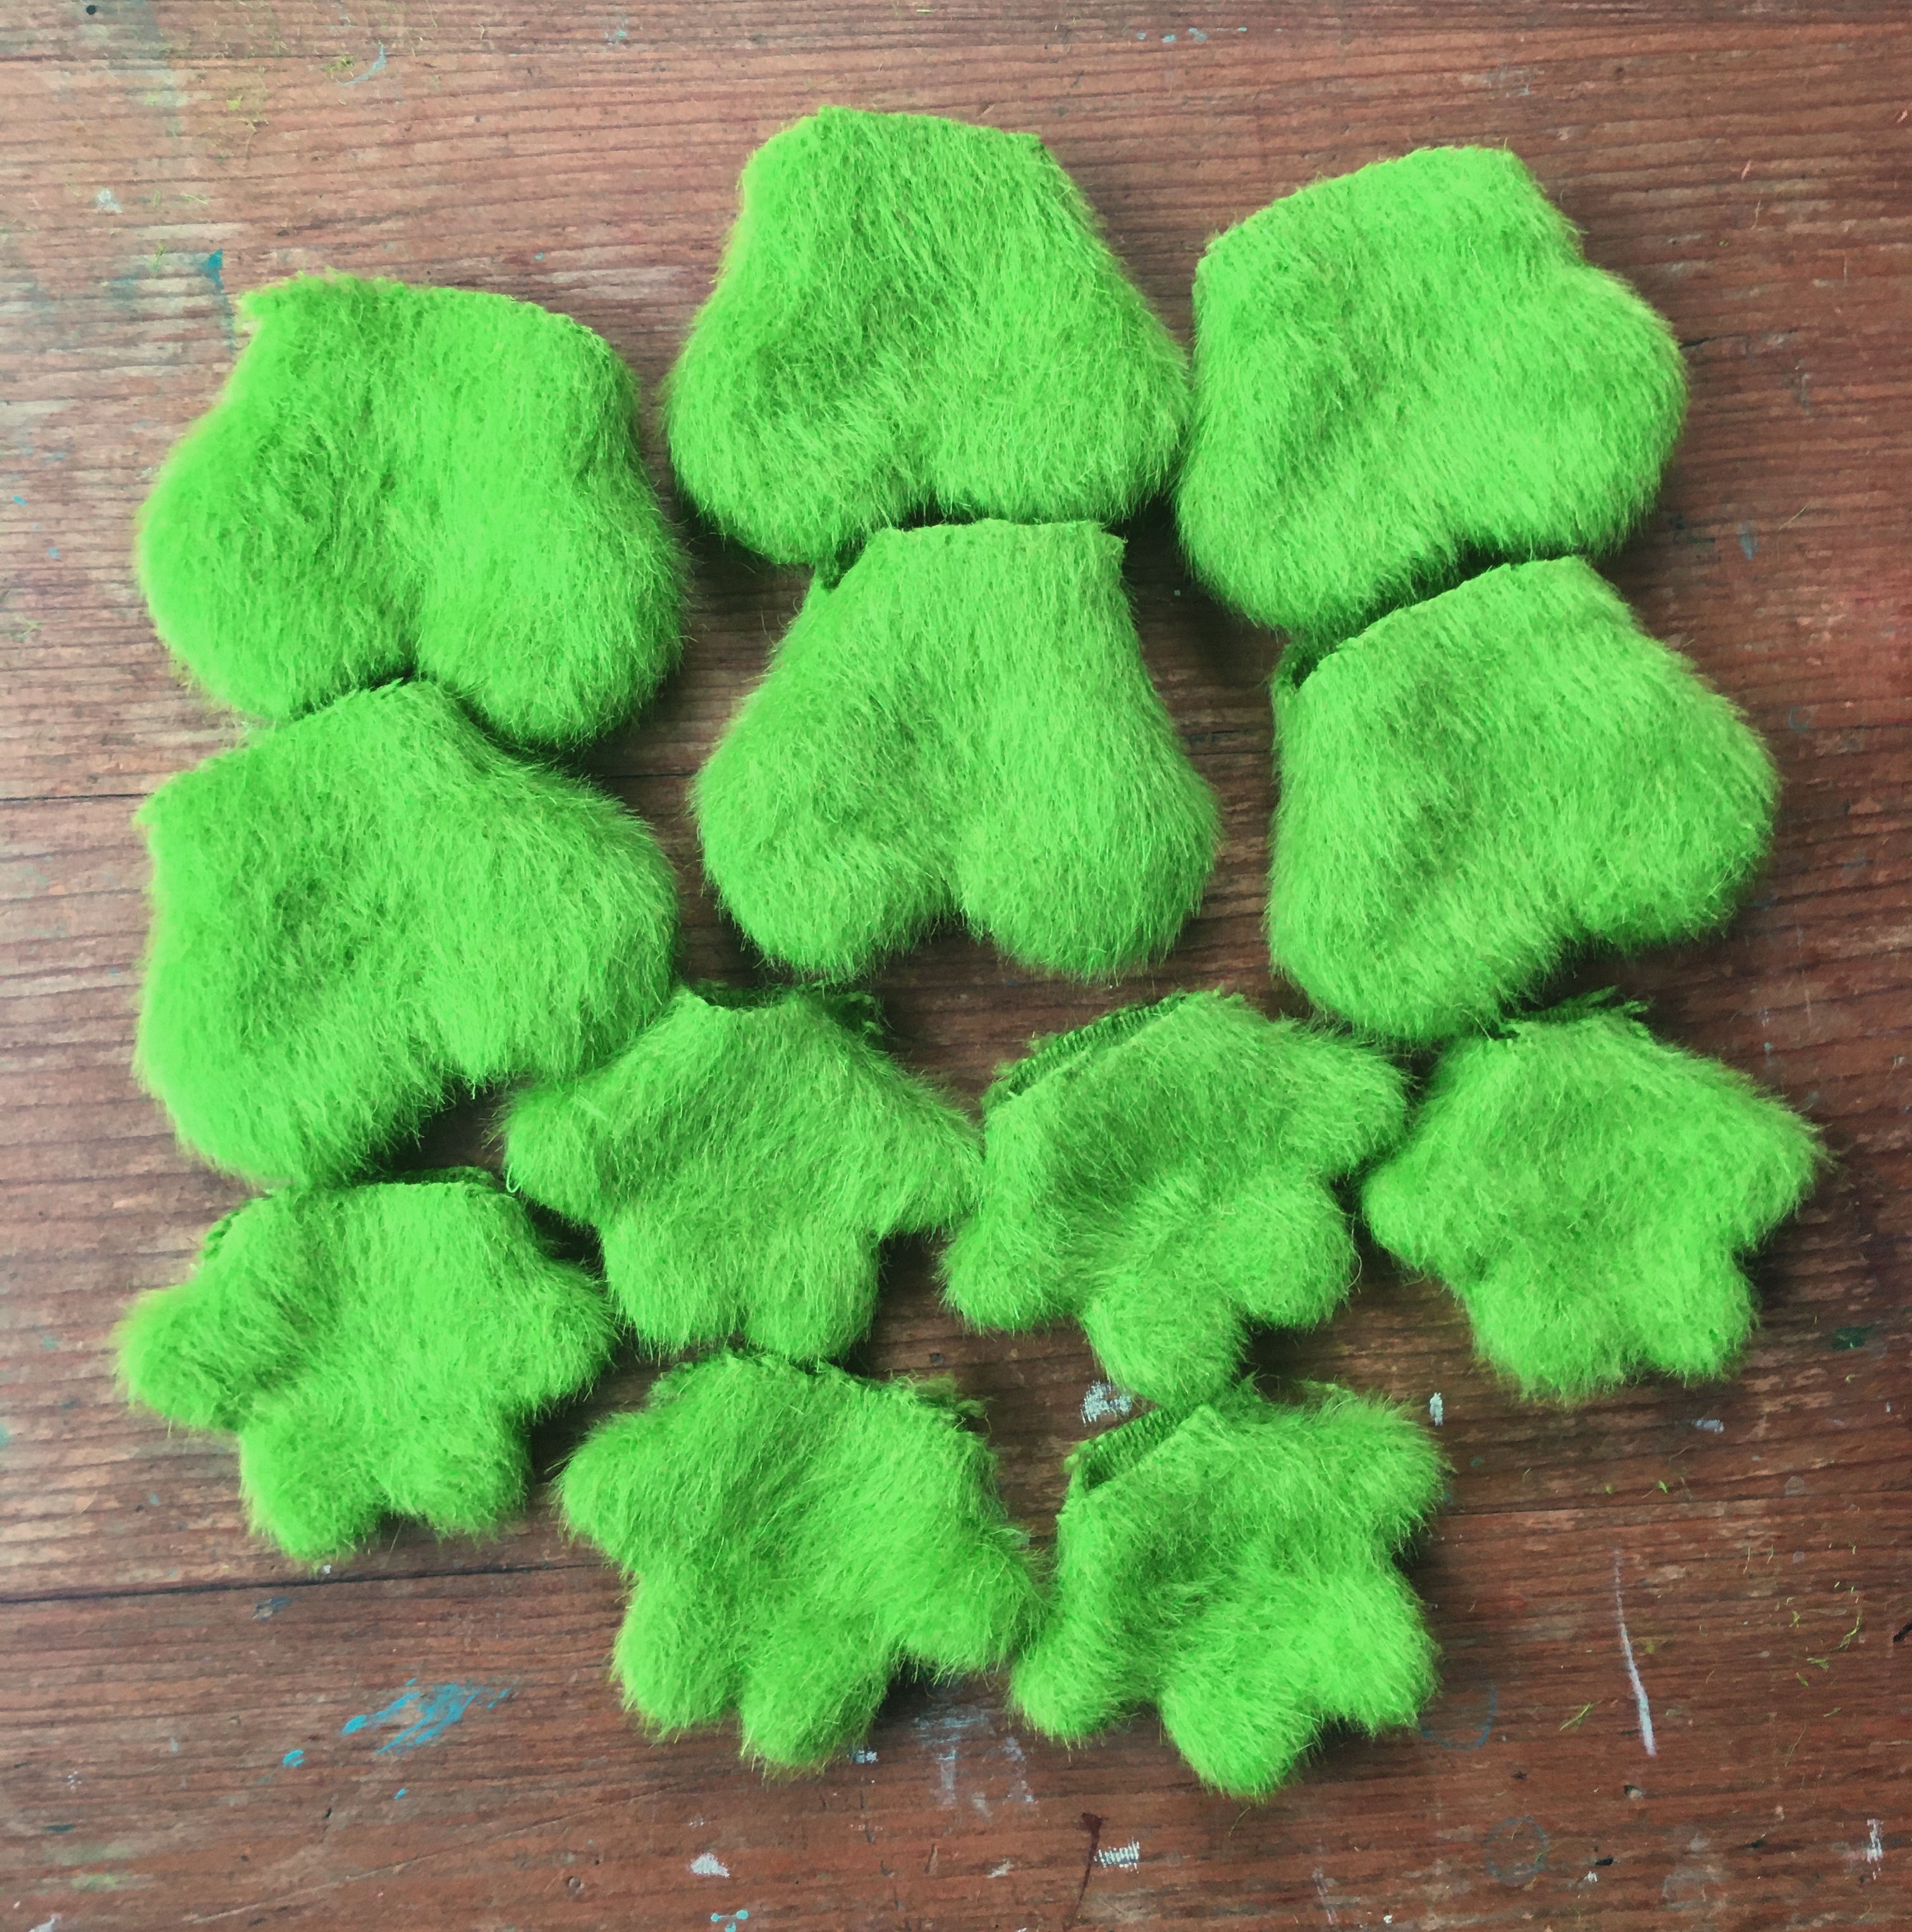
☆ Step 5: Turn pieces inside out ☆
This takes soooo long and is really painful on the thumbs lol. First I make incisions in corners and curved areas so the fabric can stretch into a smooth shape when inside out. The arms and legs of the body are so small and tight with the thick fabric that turning them inside out is really difficult, I had to push hard using a crochet hook (being careful not to punch through the seam) and the tight intense work left my hands screaming :,). The heads look like grinch ballbags at this point.
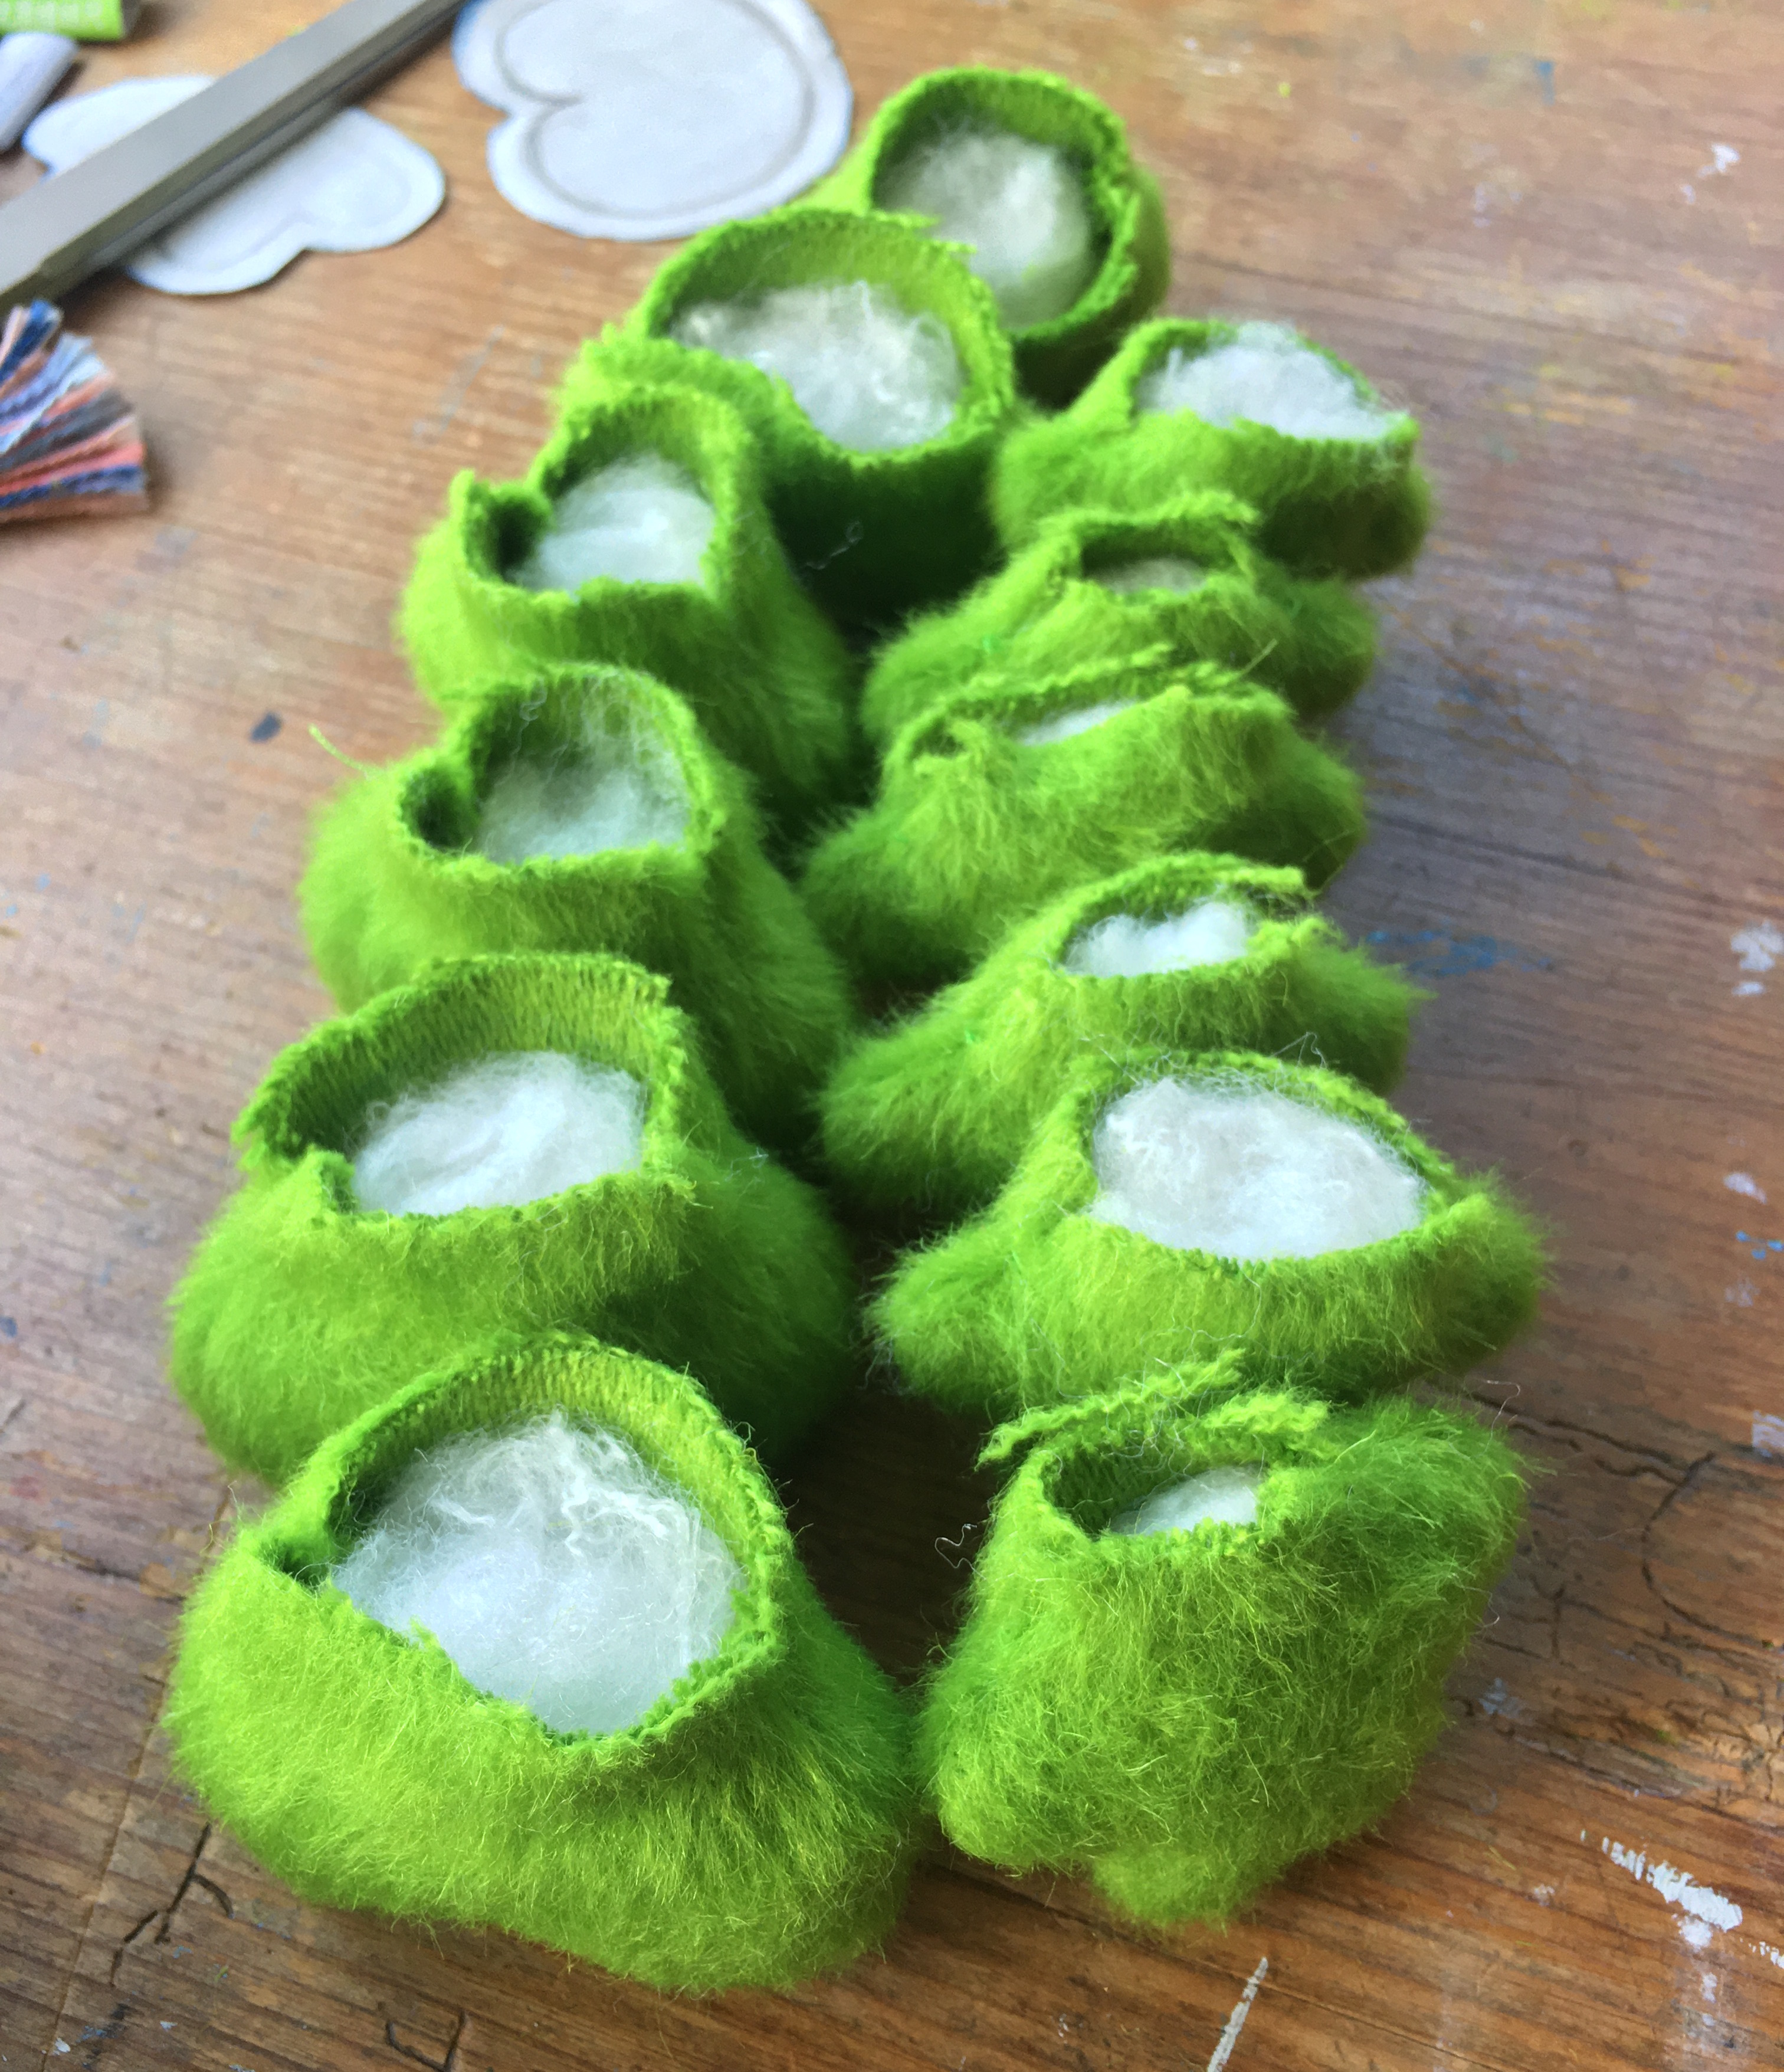
☆ Step 6: Stuff☆
I use old pillow stuffing to stuff the heads and bodies, I stuffed them pretty full because I want their shape to be sturdy but maybe they could do with being a bit squishier...
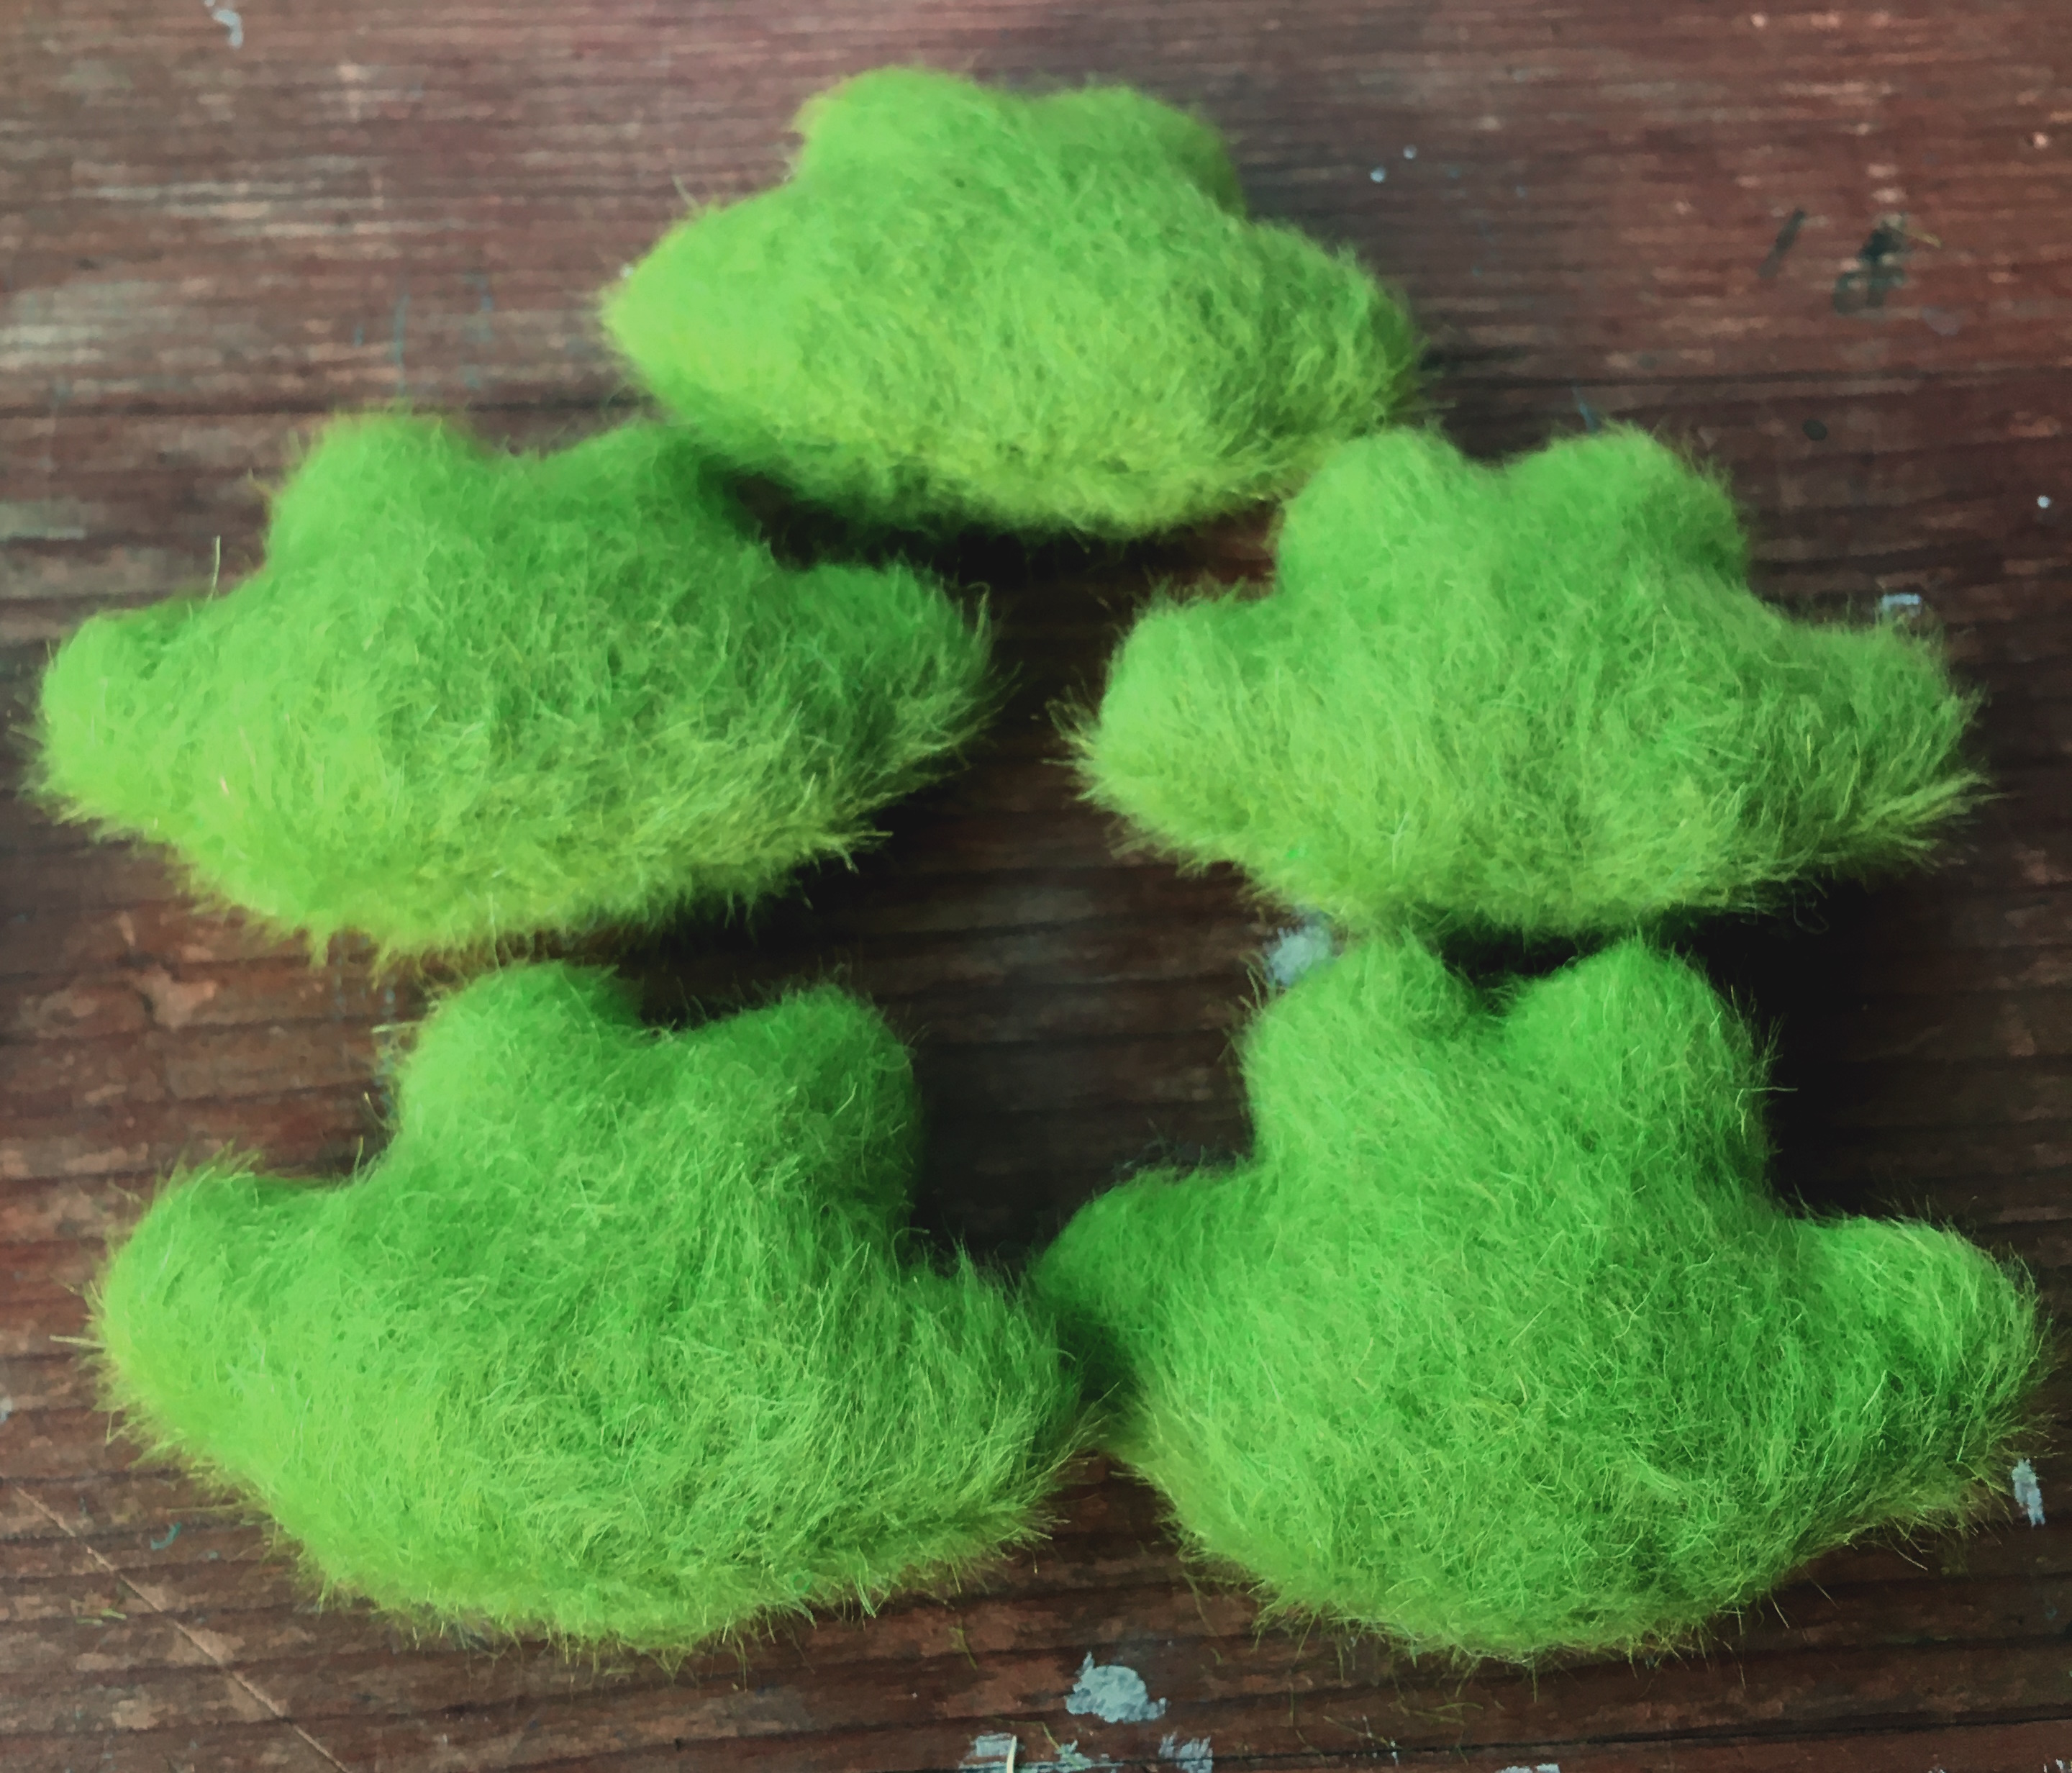
☆ Step 7: Sew up bodies ☆
I use a ladder stitch to sew up the bodies - the ladder stitch can be pulled tight and creates invisible stitching, I'm obsessed. The hairy fabric is very forgiving and hides any lumpy or messy parts.
☆ Step 8: Sew up heads (and add antennae) ☆
I also use a ladder stitch to sew up the top of the head. I cut a length of this strange fluffy string I bought in Switzerland which I think is called felt cord, and I put it in the head with one length coming out of either edge of the gap before sewing up. I didn't take a very illustrative picture of this so I hope you can insinuate what I mean from this terrible description. Basically, the two antennae are one long string connected inside the head for better security.
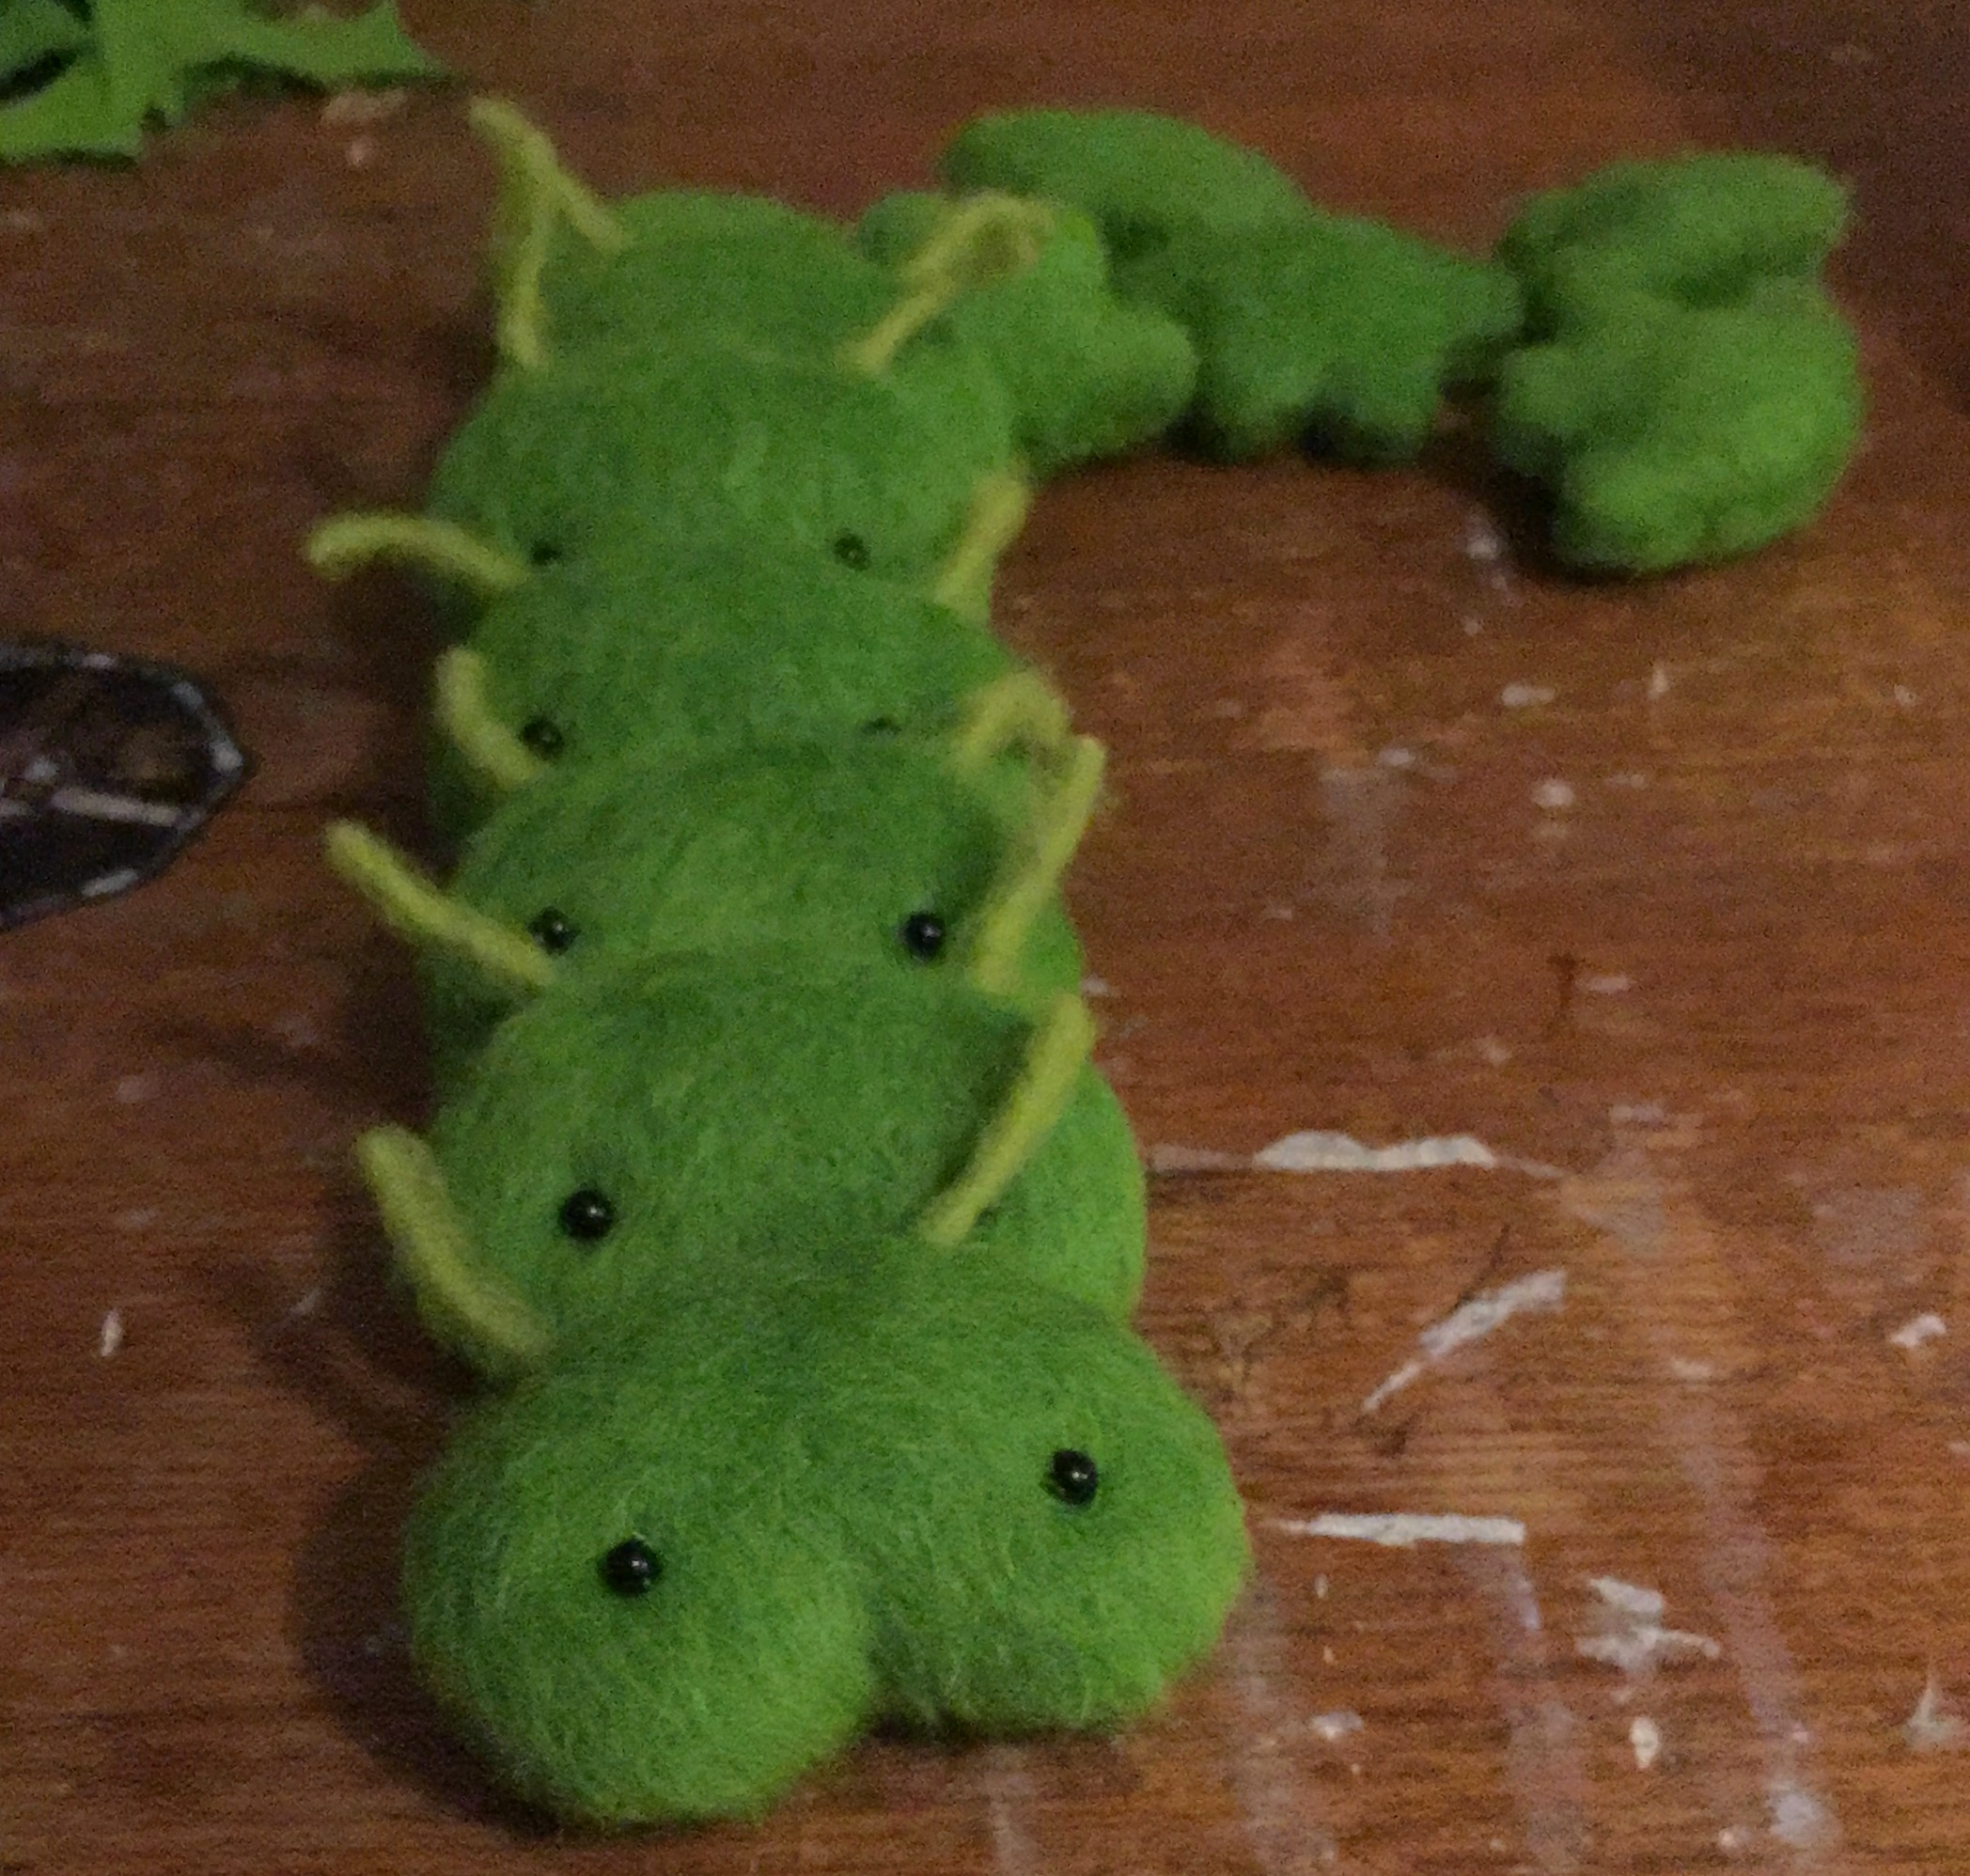
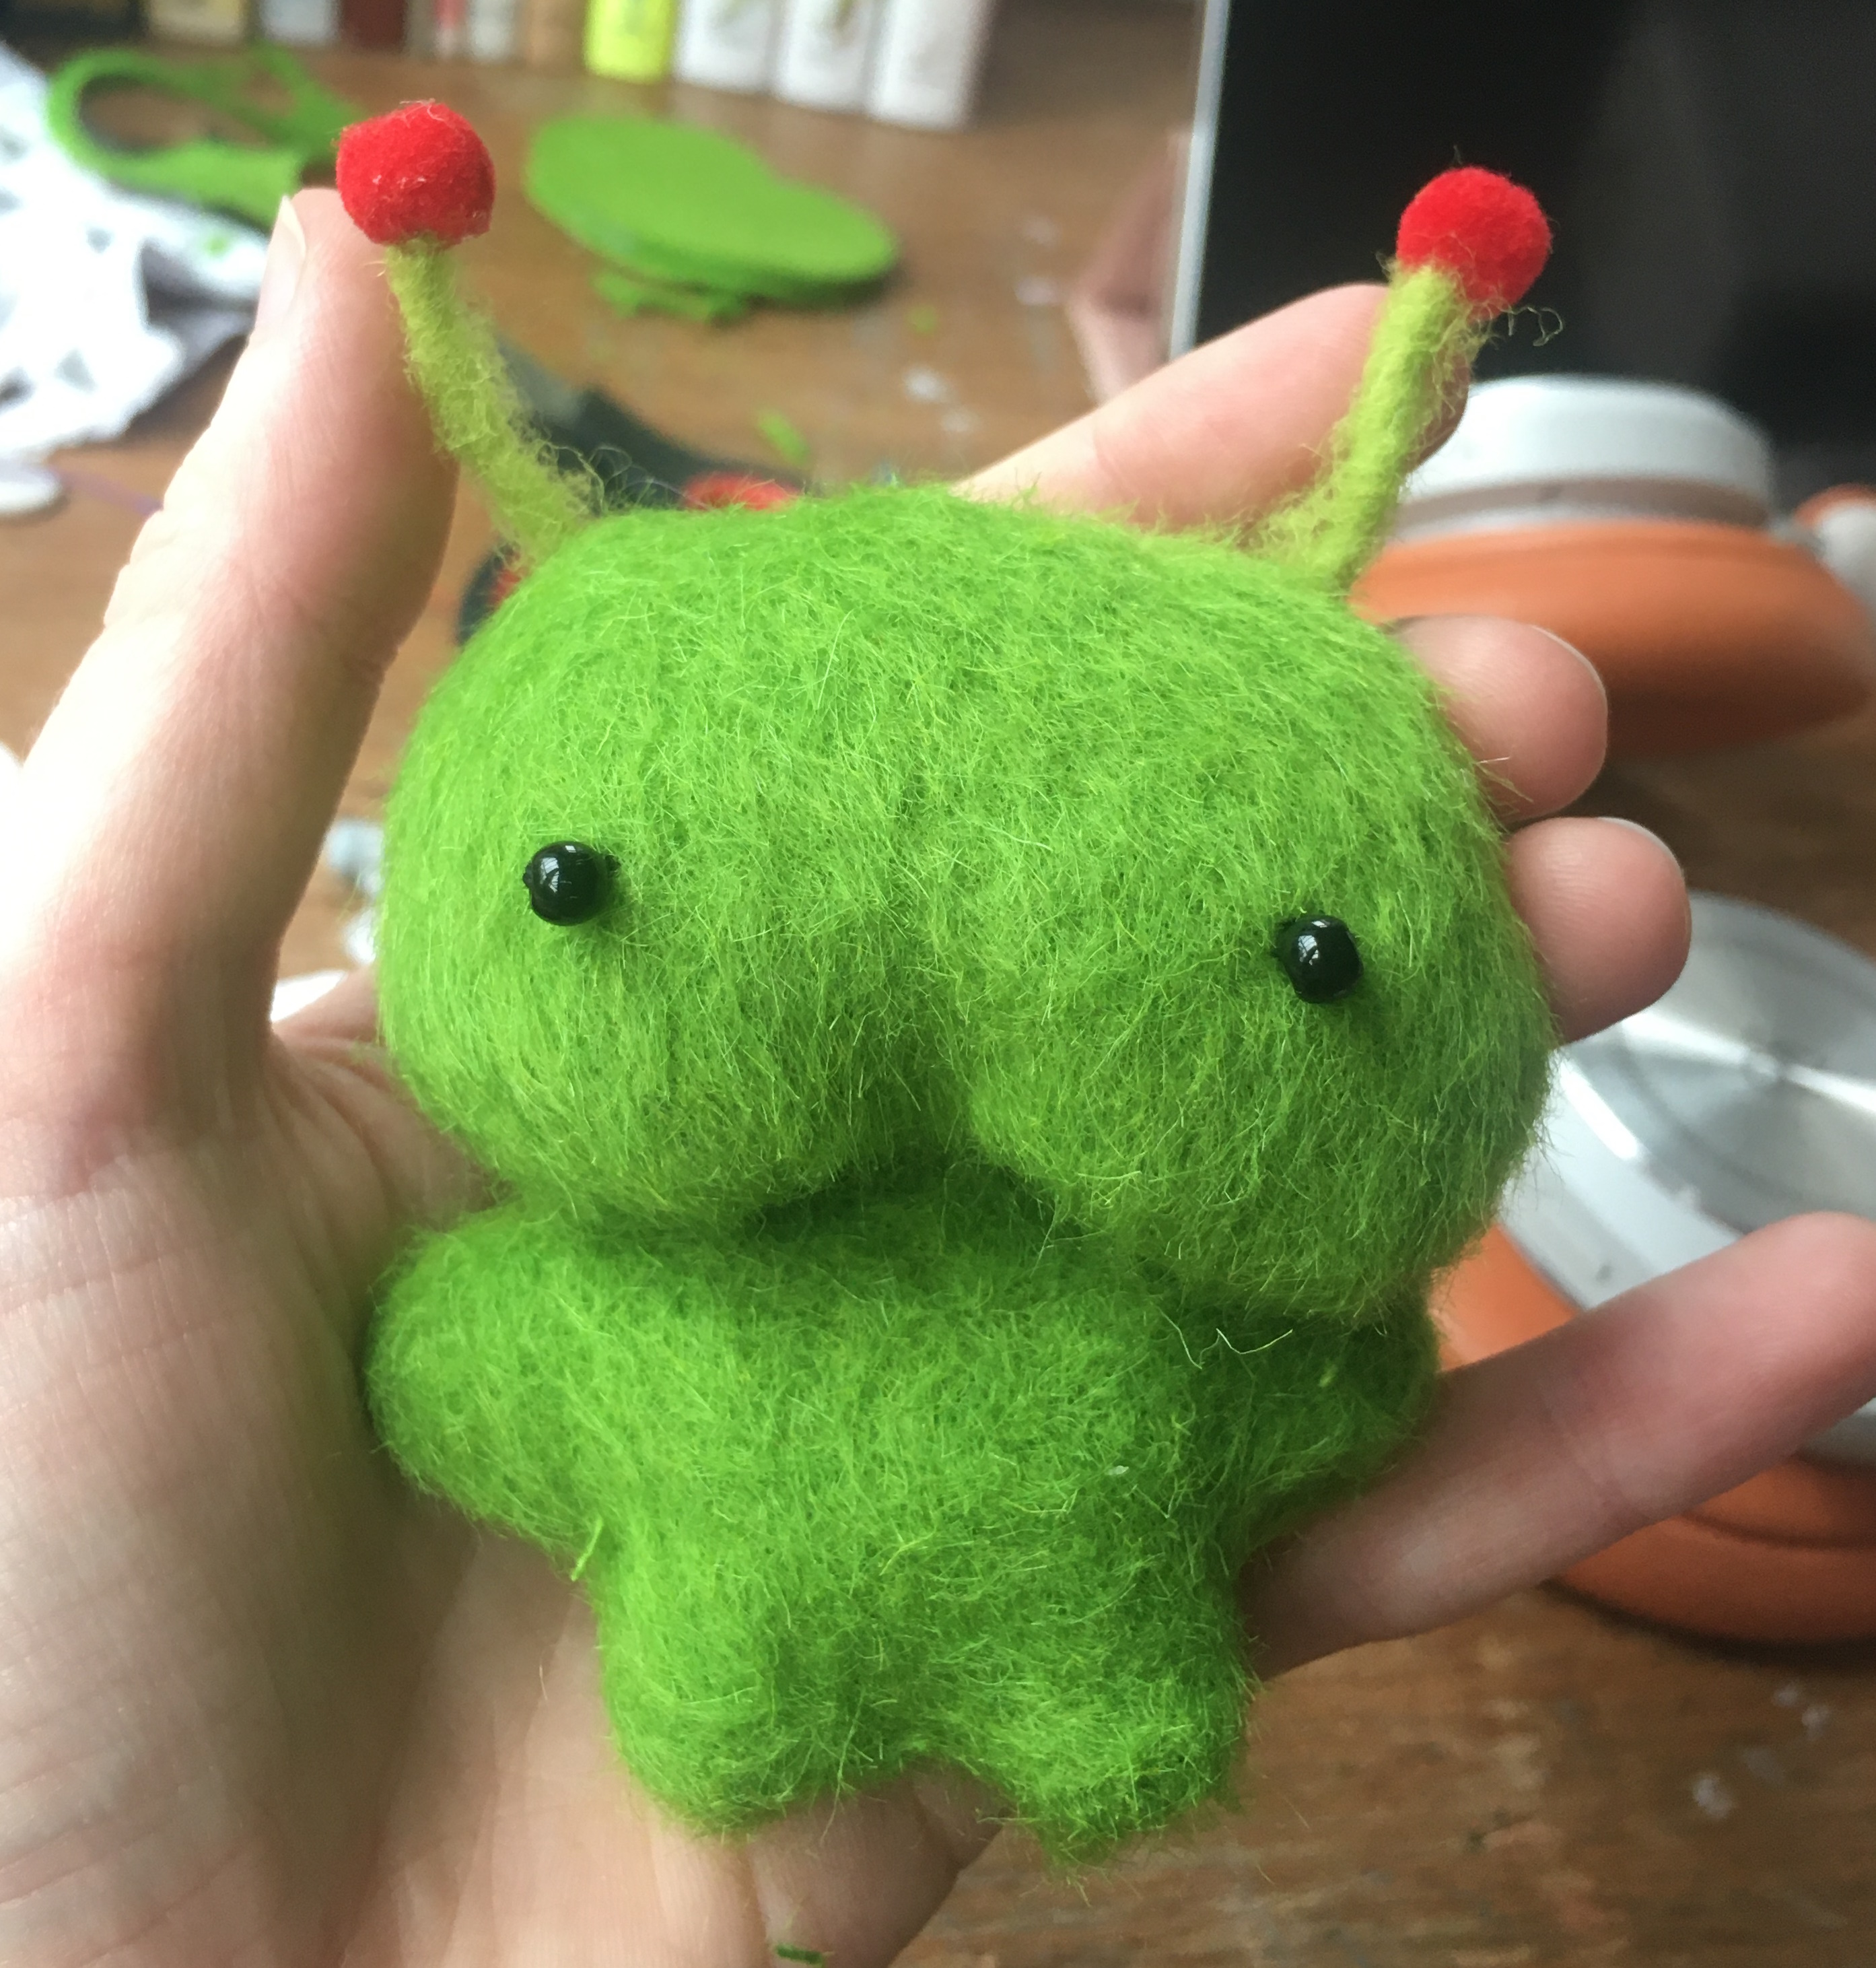
☆ Step 9: Attach eyes ☆
The eyes are black beads which I sew onto the head. To make them sink into the head a little instead of sitting loosely on top I push the bead hard into the face, then tie the thread in a tight knot at the back of the head where it will be connected to the body (and hidden). This way the bead dimples into the face. It's a pretty intense process that leaves me with round marks in my thumbs, I wonder if there's an easier way to do this. Once the eyes are attached the moss specimen suddenly has a soul.
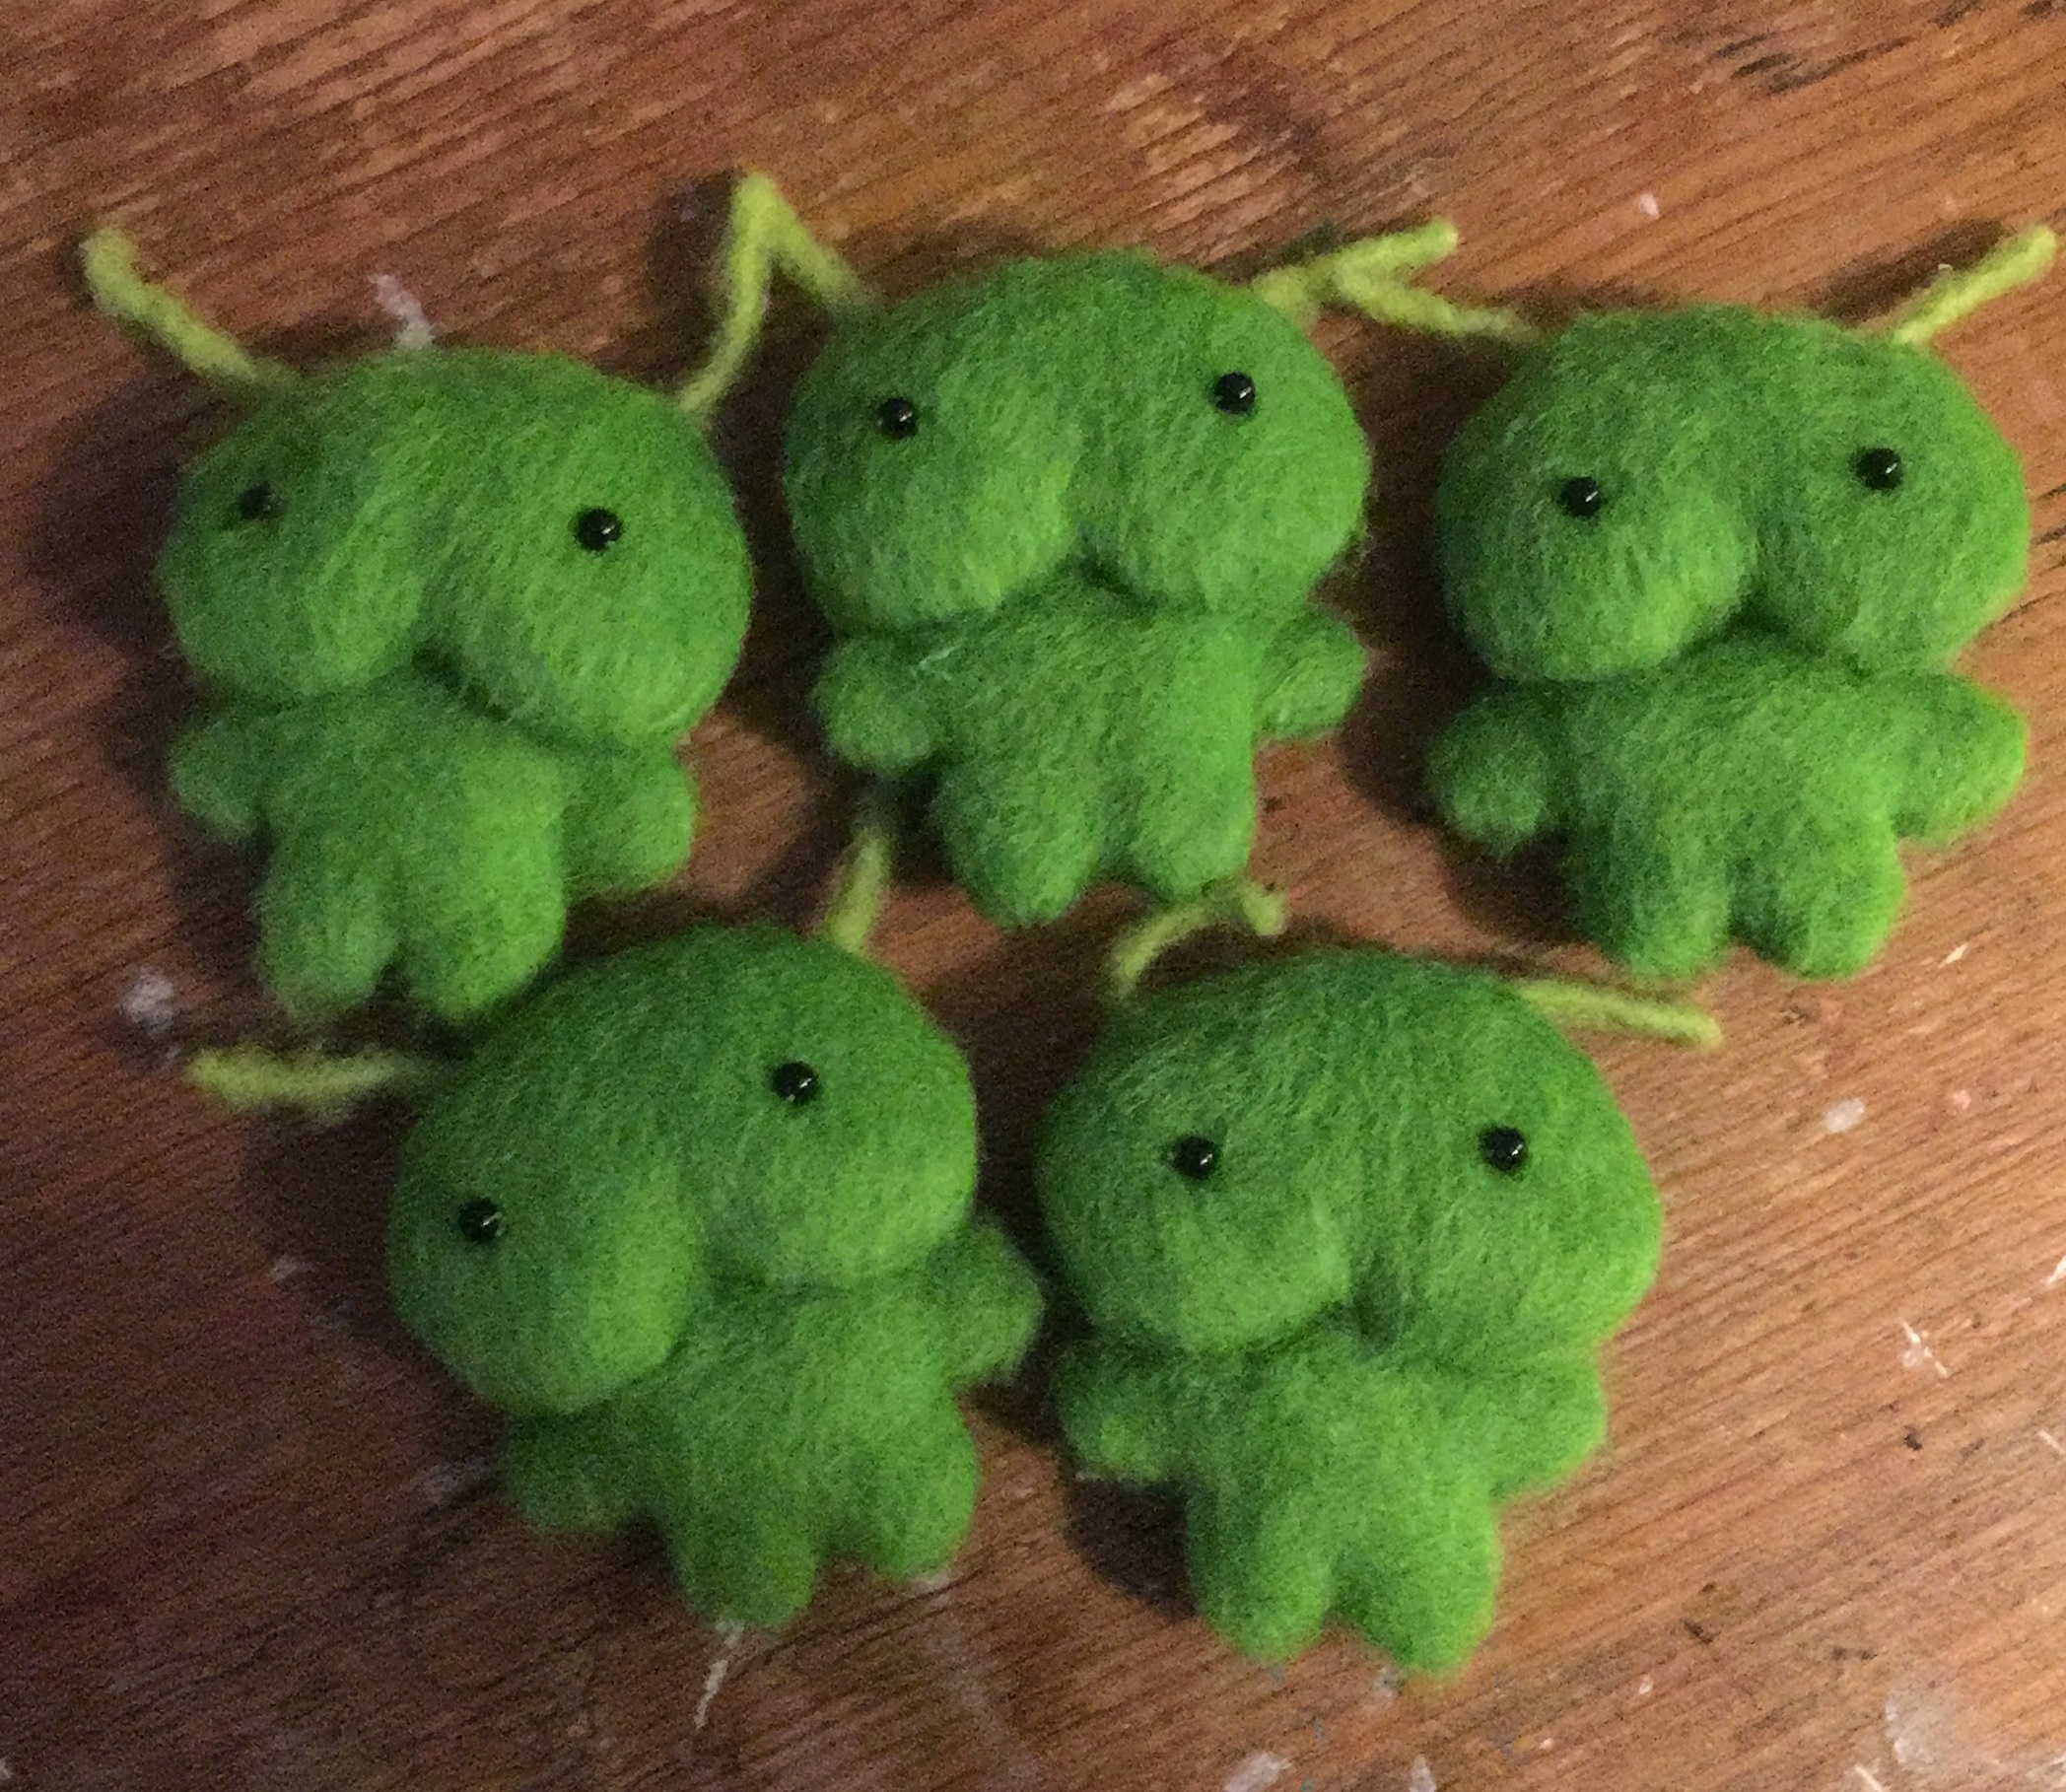
☆ Step 10: Connect head and body ☆
I use a ladder stitch again to attach the head to the body. I sew across the seam of the body to a lower part of the back of the head, then I secure the front of the face down on the front of the body.
☆ Step 11: Glue on pompoms ☆
I trim the antennae down to size then glue red pompoms to the ends using UHU glue. I snip off excess bits of dried glue.
☆ Step 12: Add charm loop ☆
I stitch through the top of the head using green embroidery thread, tie the two ends together and then stuff the knot inside the head.
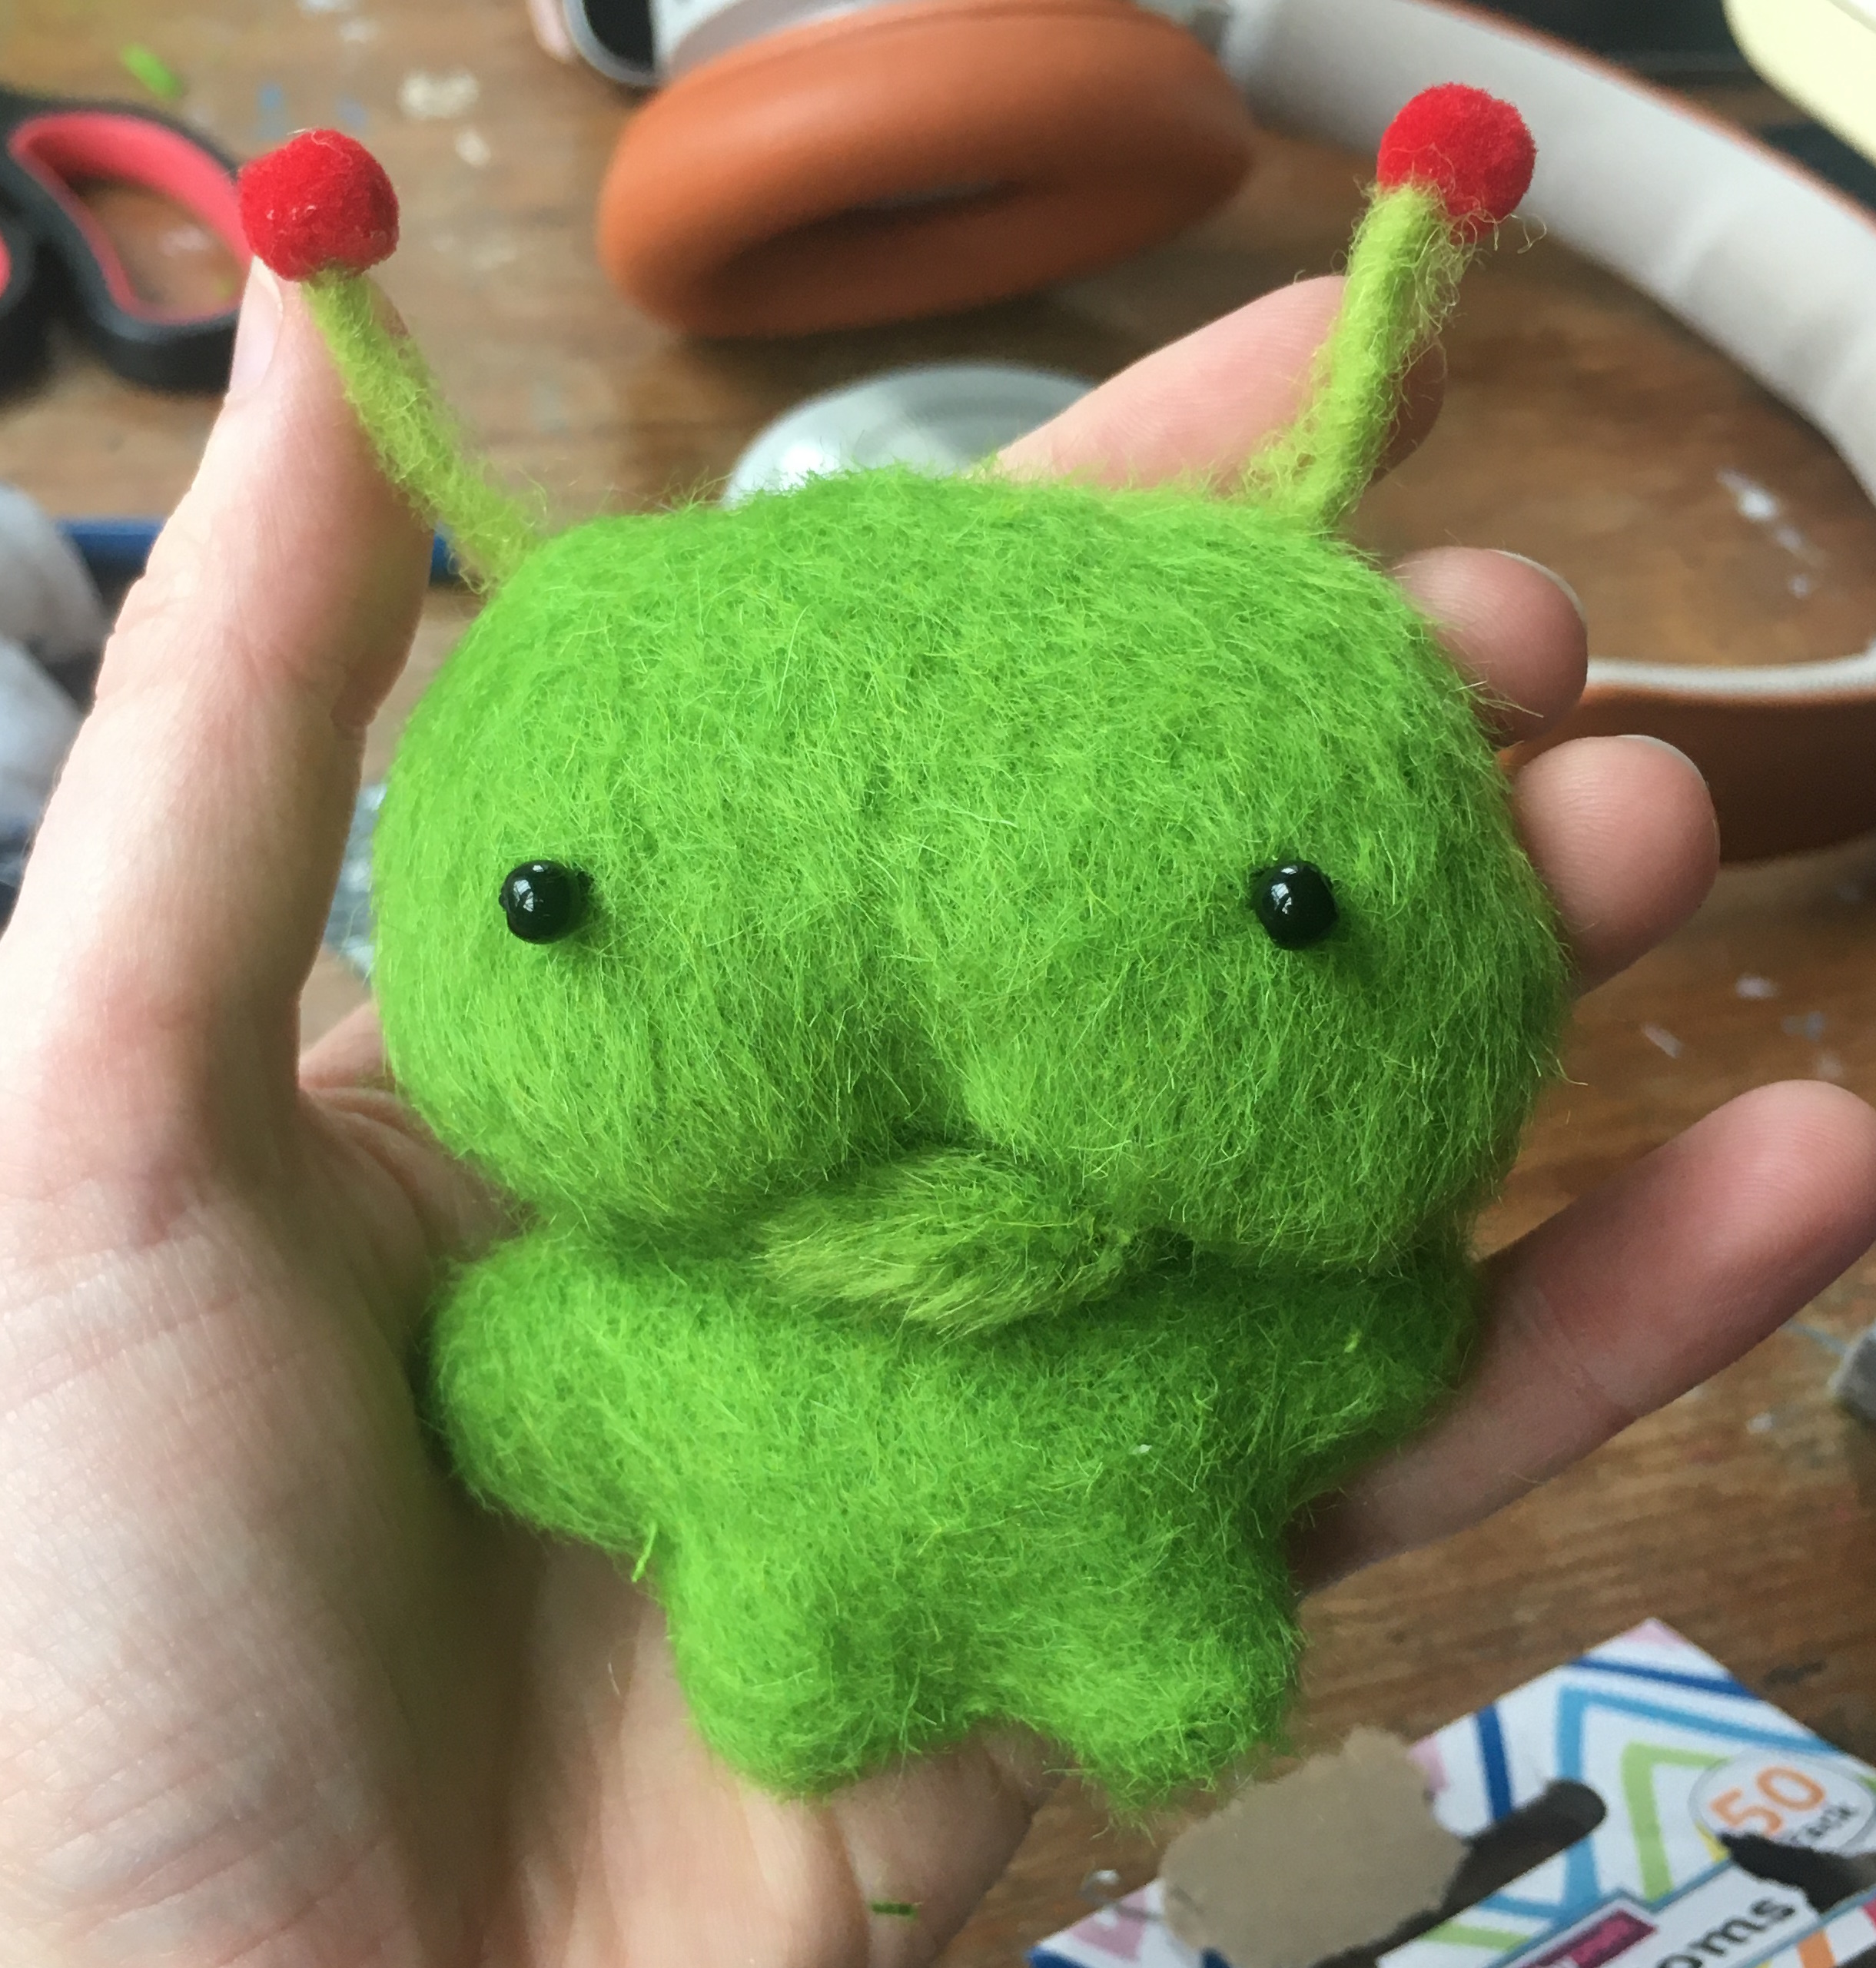
☆ Step 13: Make and sew on mouth ☆
I hadn't originally planned on giving them mouths but on making my first one I thought it looked a little cheap and incomplete. It was probably completely fine and would have saved me a lot of time and effort to leave it like that, but I'm a perfectionist. I took some small scraps of my fabric, glued them in half to make green hairy worms, and then stitched them under the bottom of the faces in an extremely difficult and haphazard way. No two mouths are stitched in the same way and some I had to redo 2 or 3 times before it looked okay. Not the most streamlined part of the process for sure.
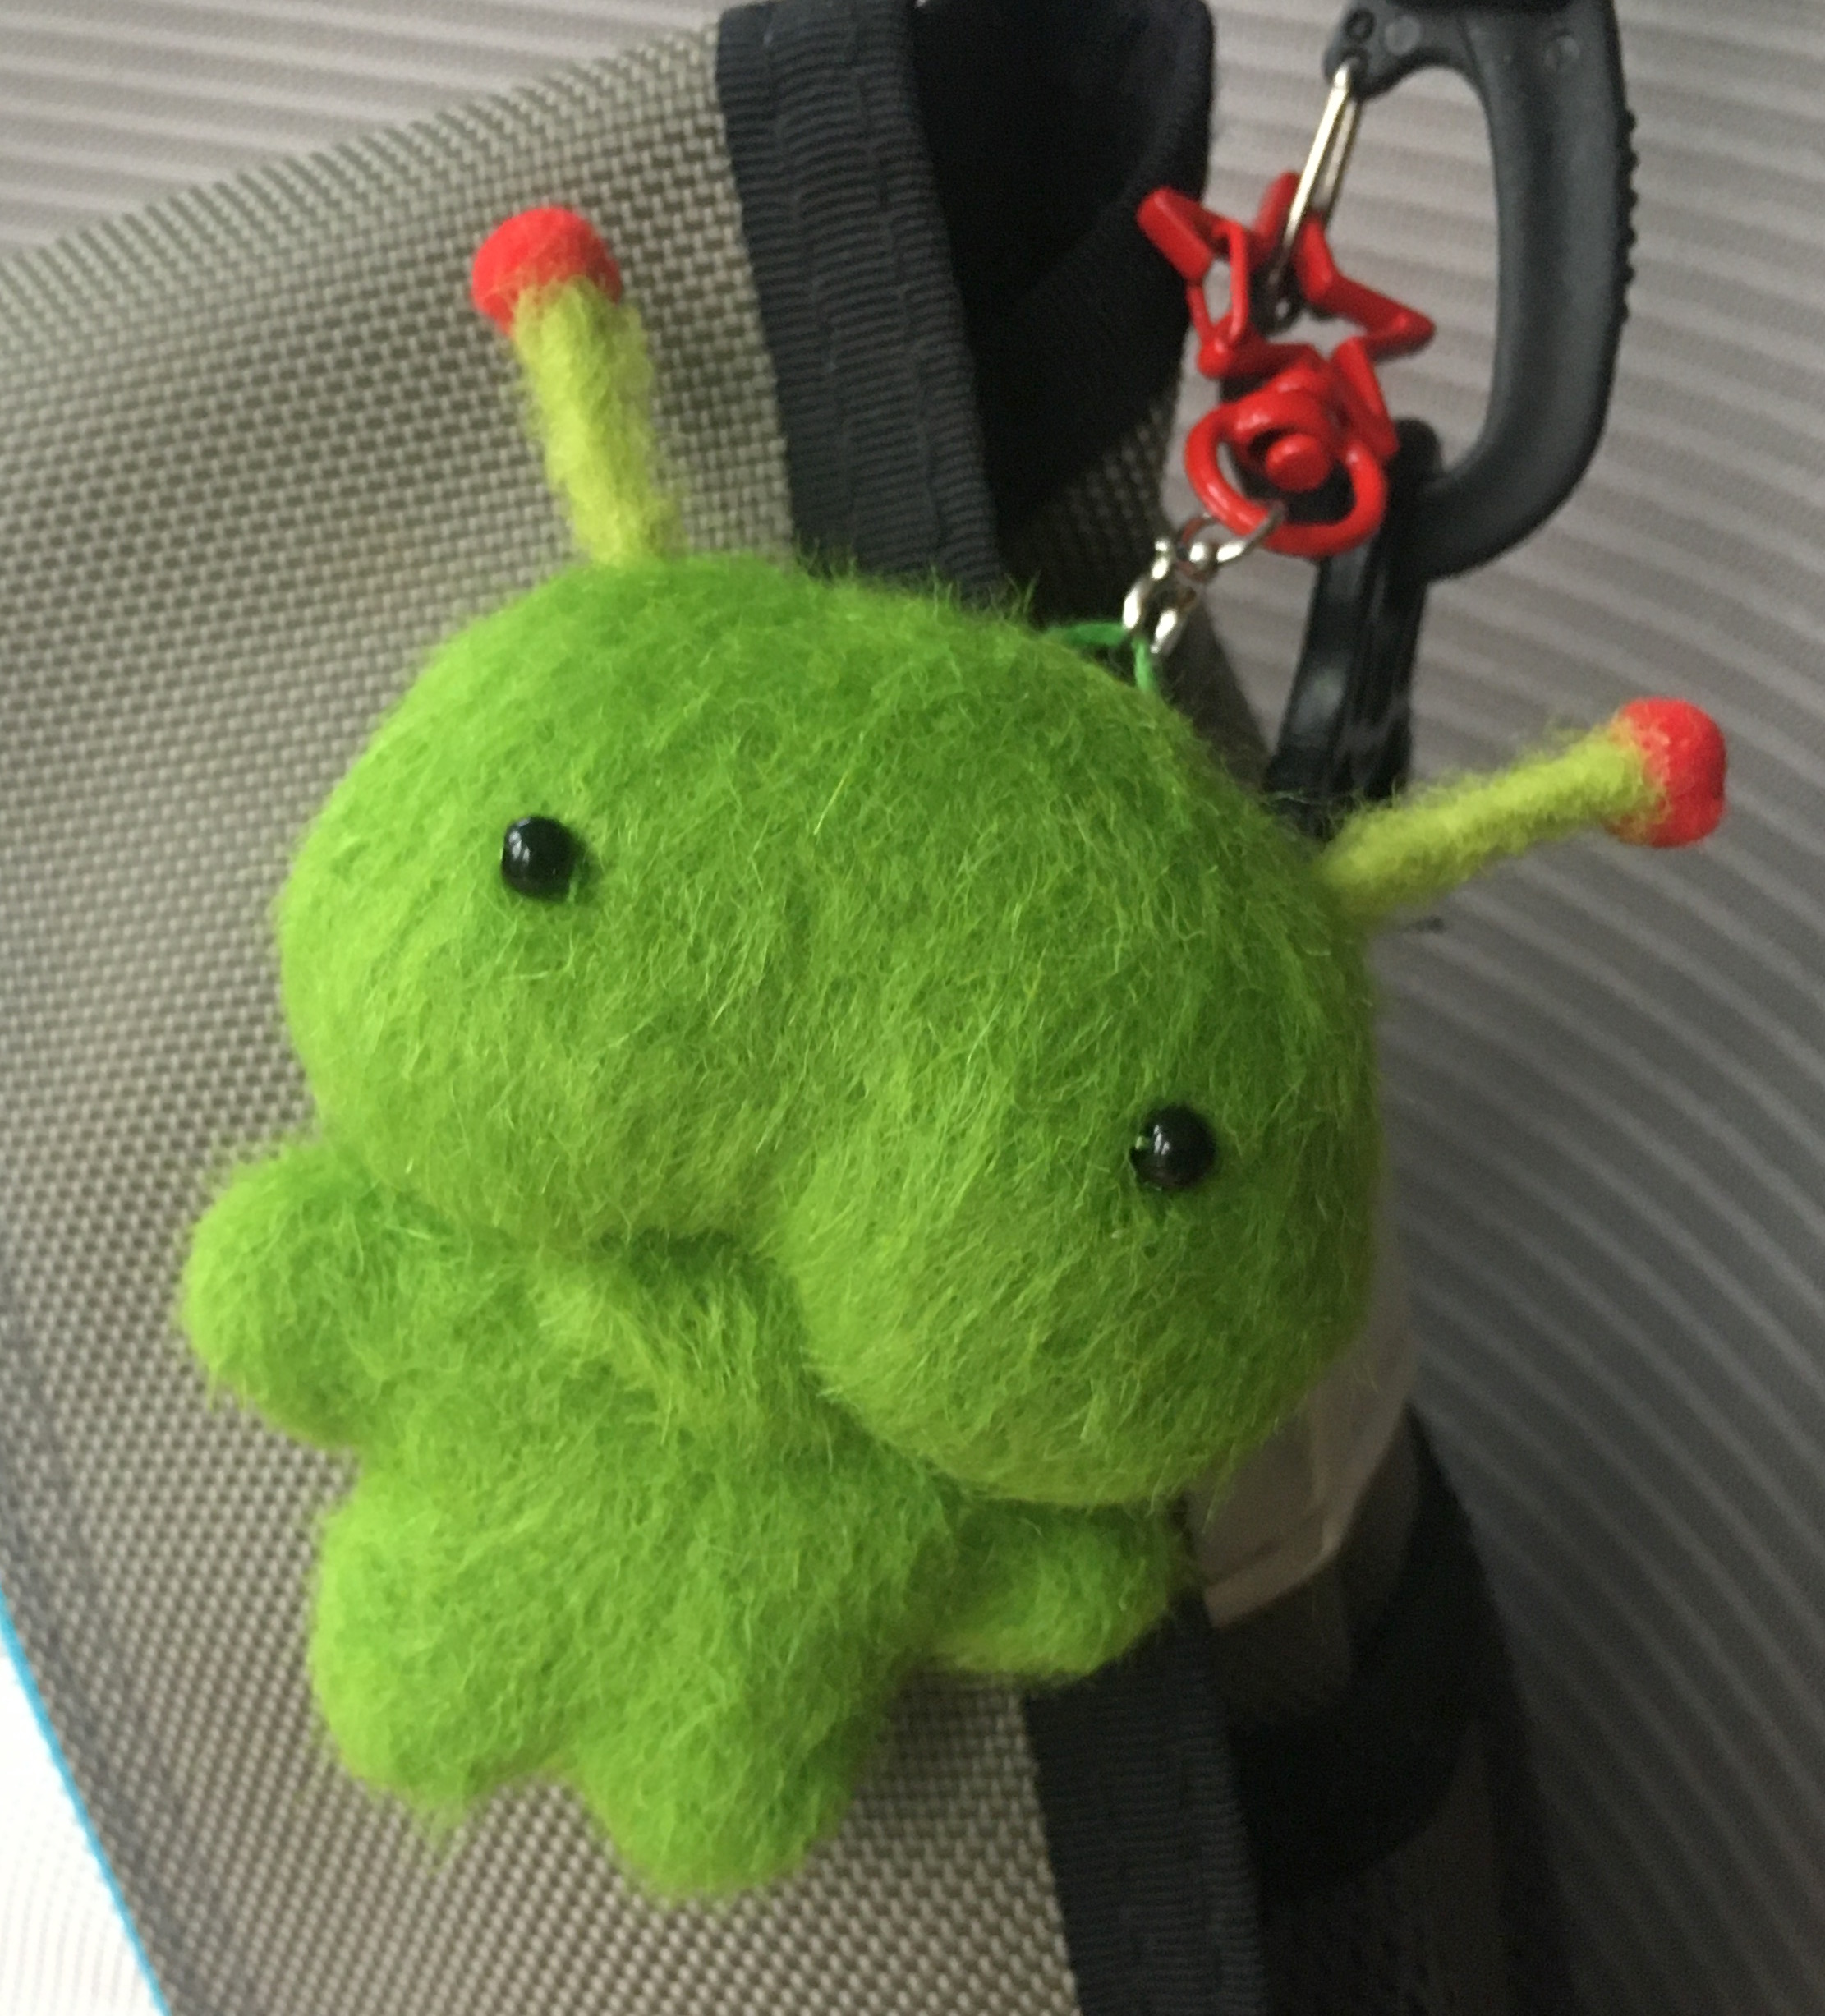
☆ Step 14: Final touches ☆
Cleaning them up! I use a nit comb to pull the hair of the fabric that has been caught out from the seams and in general attempt to brush the hair down nicely around the face, eyes and body. I clip the lobster clip onto the top of the head and the moss specimens are complete!
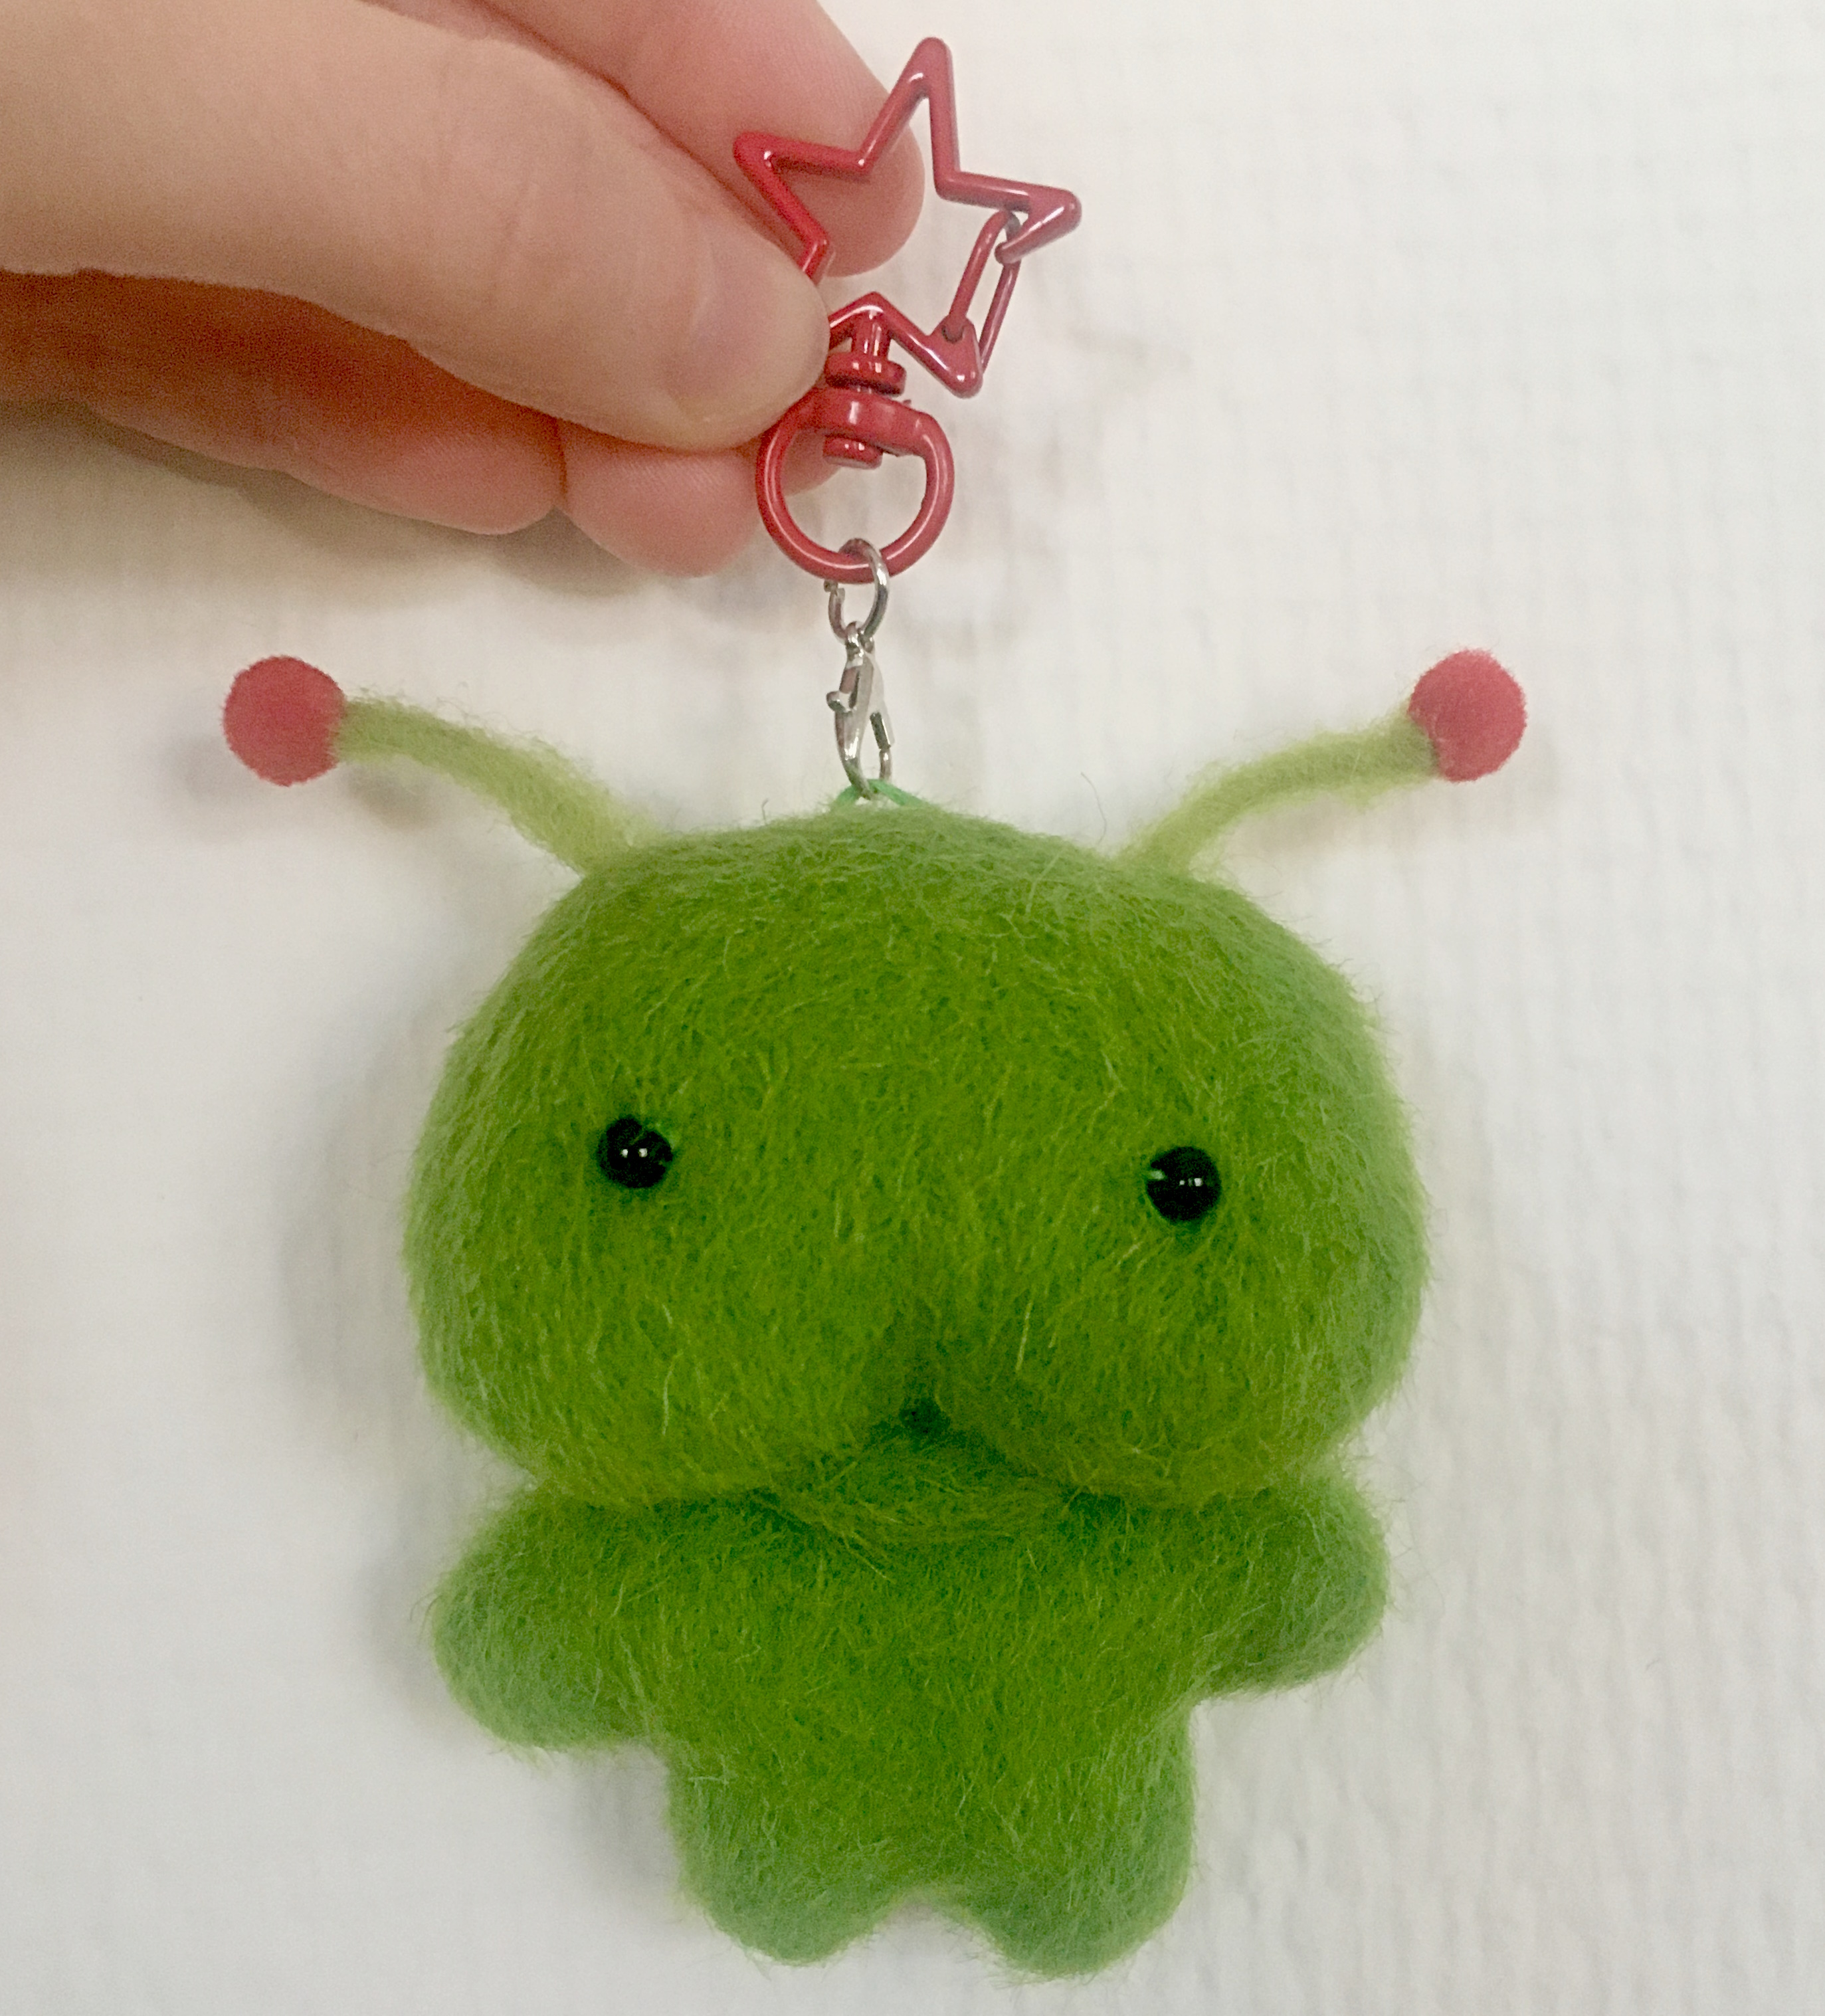
And that's the whole process! It's pretty labour intensive and I could only completely make about 3 of them in a day (whole process start to finish). I was selling them at Thought Bubble for £20 each and considering the labour + cost of materials I think I was underpricing them quite a lot, but even at £20 people were really unsure about buying them because it is a lot of money to spend. I want to be able to bring the price down but that's definitely not possible with the process as it is!
Also, almost everyone thought they were felted! The short fur does look like it at a distance but this really bothered me (no offence meant to felters I've dabbled in your art) because I was really keen to have them look like hairy/furry toys. I'm a huge fan of this kind of plush and that's what I intended to make... The process of turning them inside out and handling them to sew them did mess up the hairy fabric a lot so it didn't end up sitting as nicely as I'd like (and looked more felted). If I make more I might try a different fabric.
- Karenza